Triple Chocolate Rye, Walnut and Espresso Cookies

Biscuits

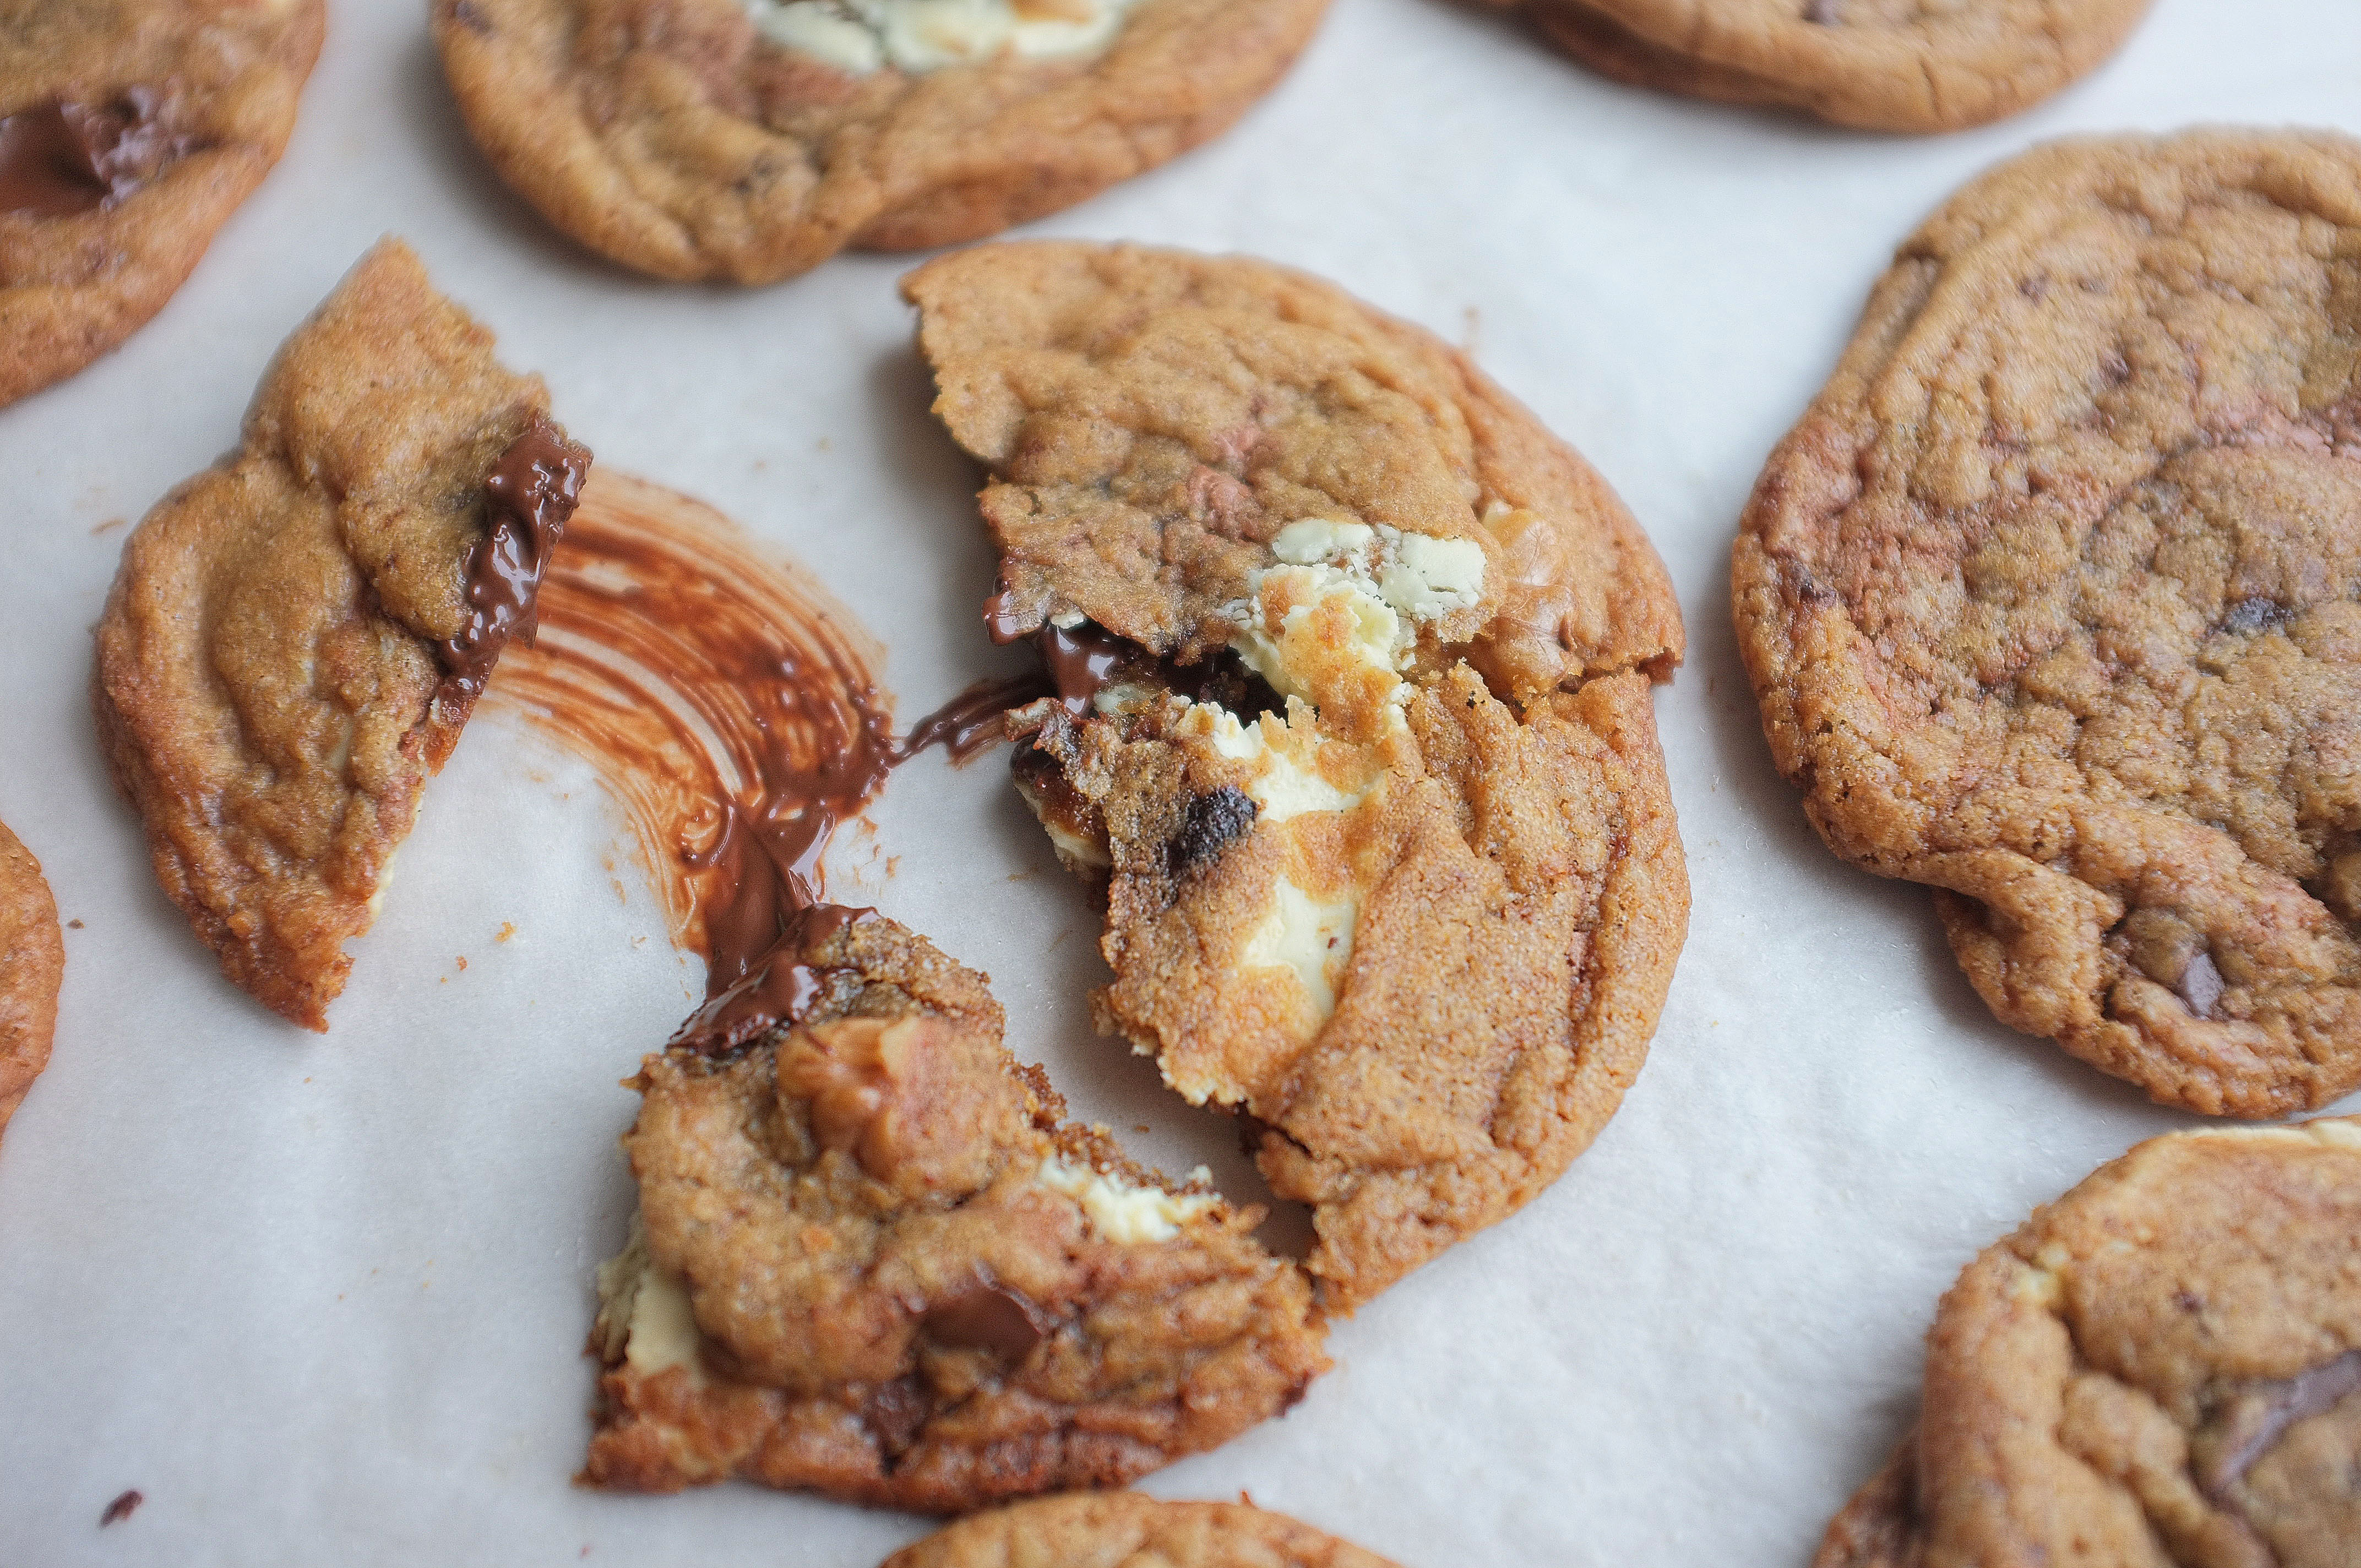
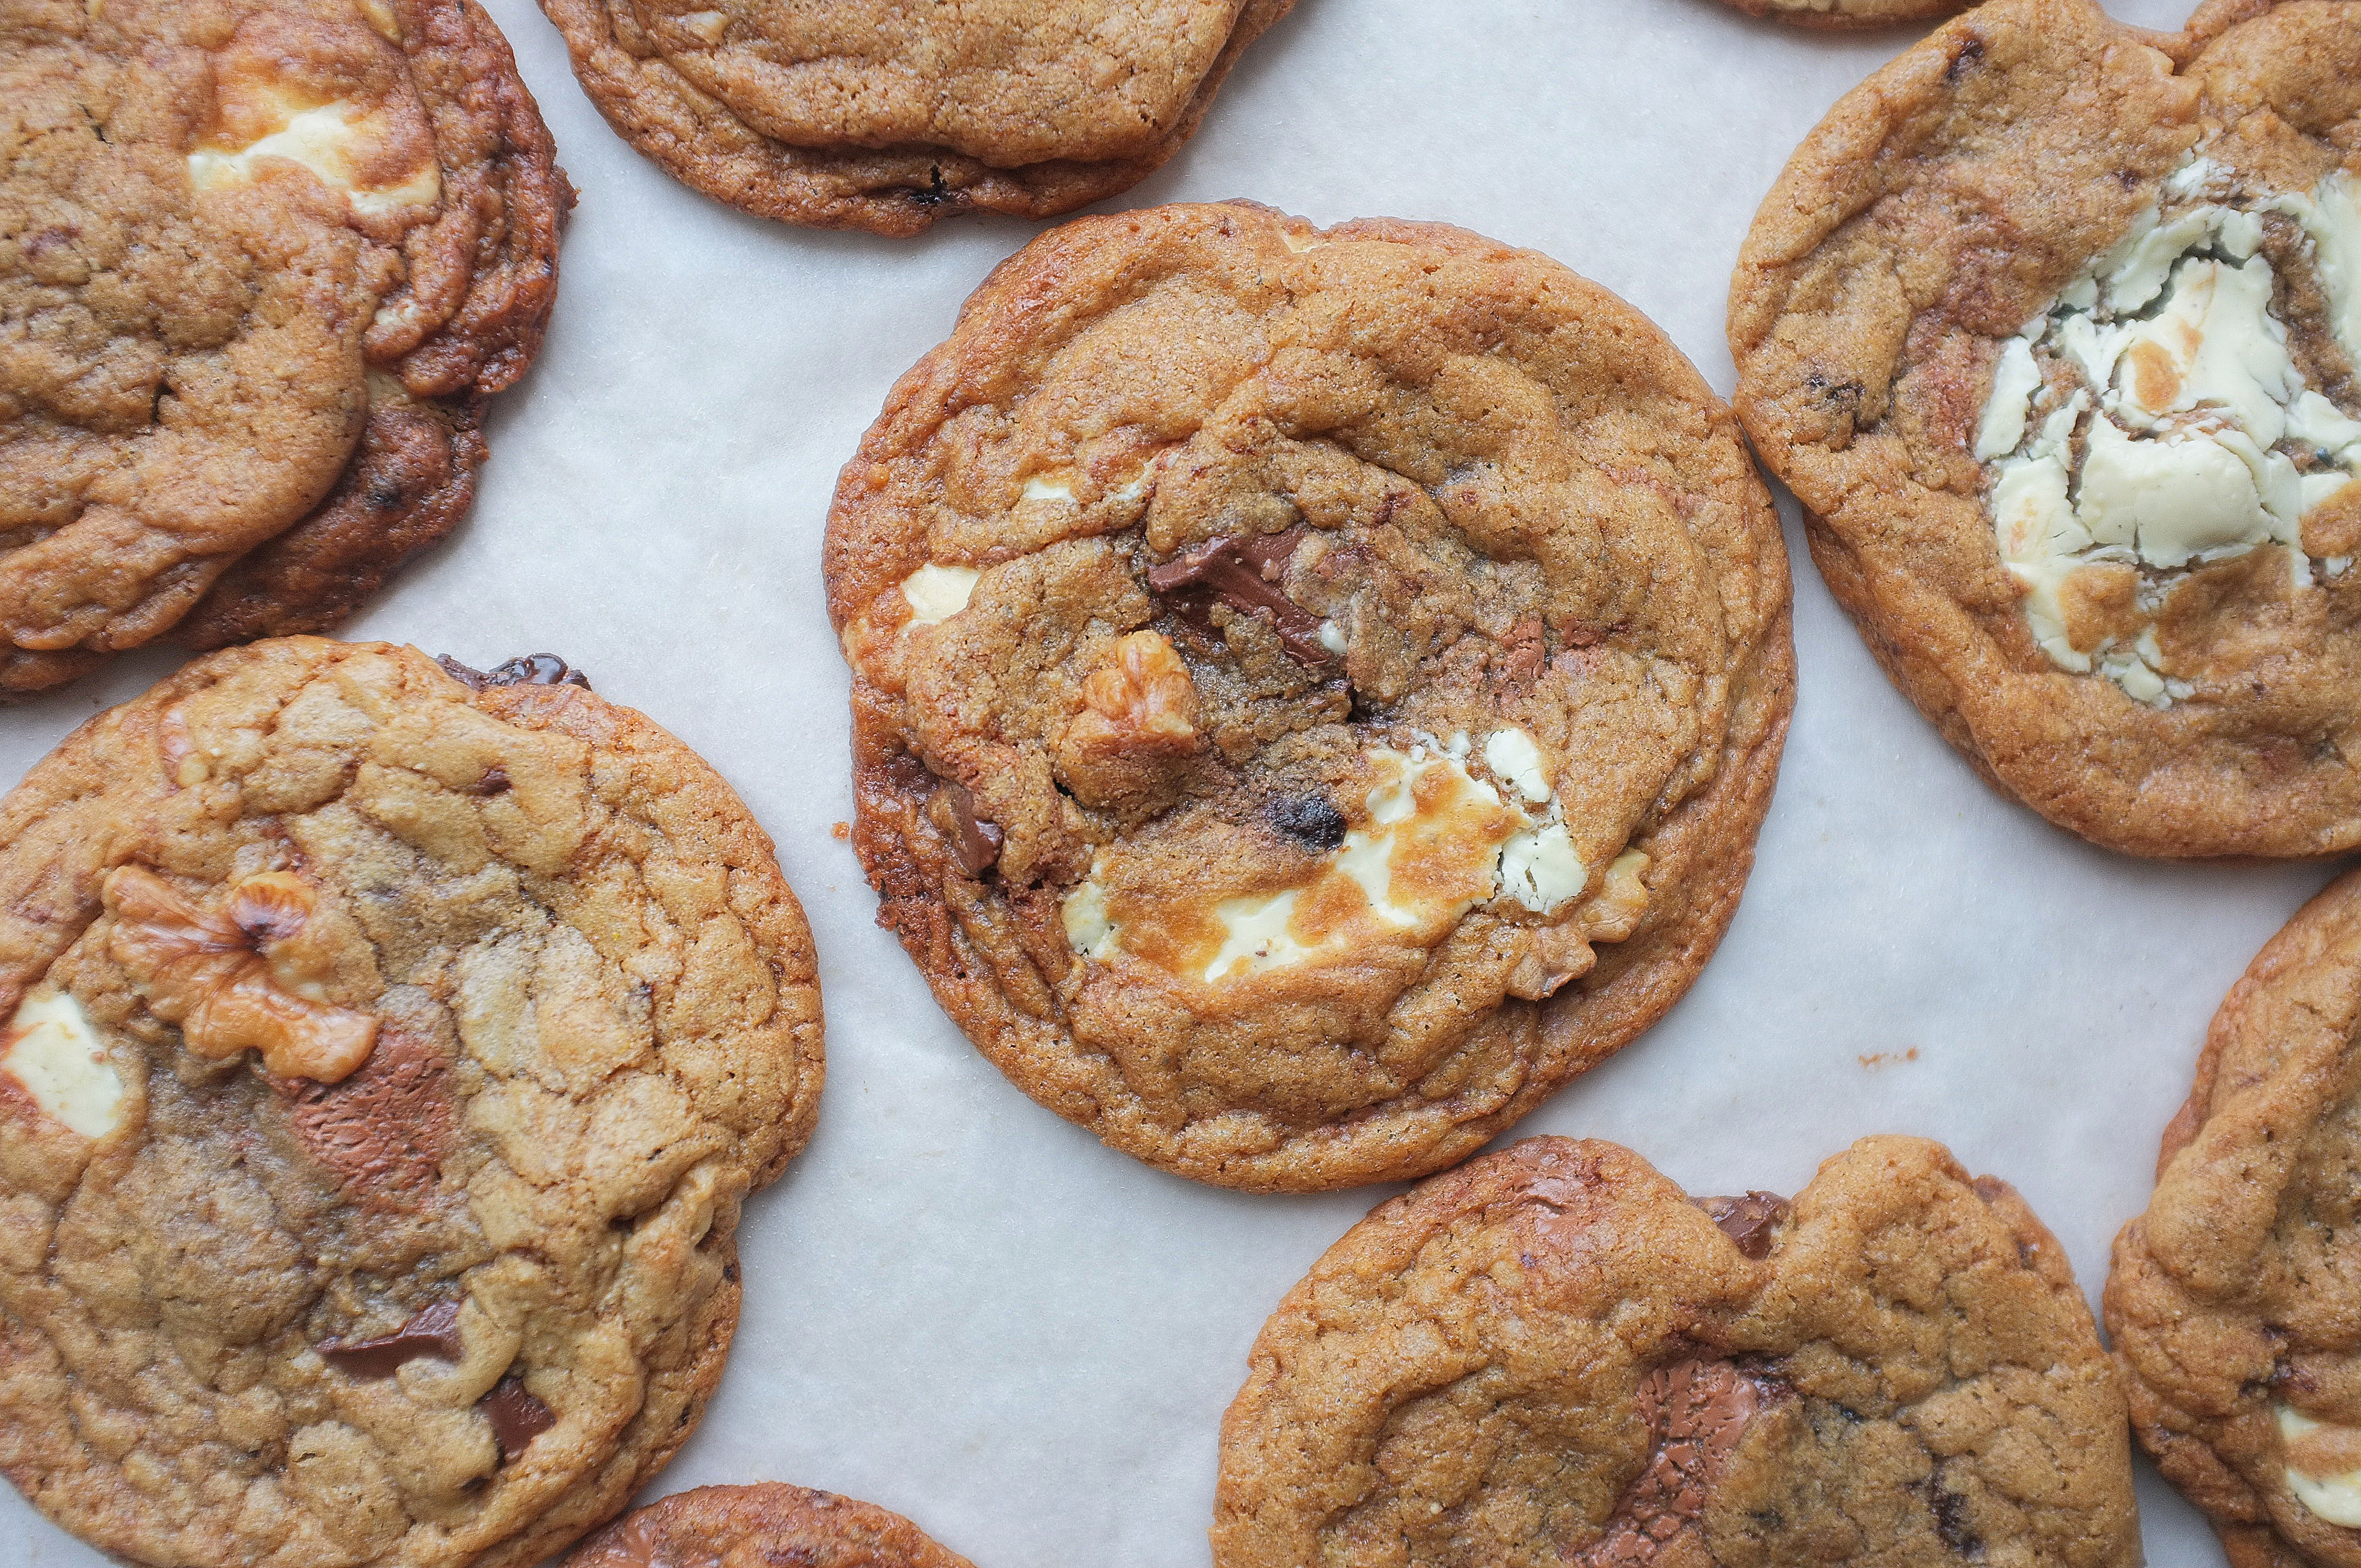
I’ve tweaked and tested this recipe at least four times over the past month *woe is me*, and am at last at the point where I’m completely happy with the outcome. Technique-wise I’ve actually harked back to one of my original cookie recipes which I posted about four years ago- it’s so simple and calls for a good old mixing bowl and wooden spoon, but delivers that chewy, crinkly texture which just can’t be rivalled. In terms of ingredients I’ve used a combination of rye and plain flour, three types of chocolate (duh), walnuts and a good dose of espresso; the resulting flavour is well balanced and borderline addictive, so proceed with caution (not actually, definitely give them a go).

Ingredients

  • 150g plain flour
  • 125g rye flour
  • 1tsp bicarbonate of soda
  • Pinch salt
  • 1tbsp instant coffee (ground to a very fine powder)
  • 150g unsalted butter
  • 150g dark brown soft sugar
  • 150g golden caster sugar
  • 1 egg plus 1 egg yolk
  • 75g walnuts, coarsely chopped
  • 100g dark chocolate, coarsely chopped
  • 100g milk chocolate, coarsely chopped
  • 100g white chocolate, coarsely chopped

Method

  1. Preheat the oven to 180c. Line two large trays with baking paper.
  2. Place the plain flour, rye flour, bicarbonate of soda and salt in a large bowl and roughly mix together with a wooden spoon. Add the instant coffee, butter and sugars to a saucepan and gently melt over a medium heat, stirring occasionally.
  3. Once the ingredients have melted together, set aside to cool slightly then add in the egg and egg yolk and whisk briefly to combine.
  4. Pour the wet ingredients into the dry and mix together with a wooden spoon to form a soft cookie dough. Tip in the chocolate and walnuts into the bowl and mix to evenly distribute them through the dough. Chill the dough for at least 1 hour.
  5. Using an ice cream scoop, form balls of cookie dough and line onto the baking trays (leaving lots of space for spreading). You will need to do this in batches (unless you have a huge oven and lots of trays!).
  6. Bake the cookies for 10-12 minutes then set aside. They will be very soft when you get them out of the oven, but don’t worry, they’ll set up a little. Leave to cool and serve.

Enjoy!

Advertisement

Brown Butter, Pecan and White Chocolate Brownies (GF)

Chocolate, Uncategorized

If you do one thing this weekend, make these brownies; with brown butter delivering a deep nutty flavour, pecans adding a welcome crunch and dark brown sugar leaving you with a molasses hit, they 100% deliver on flavour and texture and are perhaps the most delicious brownies I’ve made to date (drops mic) (cringes).

Ingredients (makes 9-12 brownies)

  • 250g butter, cubed
  • 250g dark chocolate
  • 100g dark brown soft sugar
  • 100g golden caster sugar
  • 3 eggs, plus 1 egg yolk
  • large pinch sea salt
  • 100g gluten free plain flour (I used Doves Farm)
  • 100g chopped pecans
  • 75g chopped white chocolate
  • 75g chopped milk chocolate

Method (makes 9-12 brownies, depending on how hungry you are)

1) Preheat the oven to 180c. Grease and line a 22x22cm brownie tray.

2) Place the cubed butter in a saucepan and melt over a medium heat. Once completely melted, up the heat and allow the butter to foam until it smells nutty and reaches a deep golden colour. At this stage, remove from the heat and add in the chopped dark chocolate. Let it sit for a couple of minutes then stir briefly to create a smooth glossy mix. Set aside to cool a little.

3) While the chocolate mixture cools, place the sugars, salt, eggs and egg yolk in a stand mixer (or in a large bowl) and beat until very light and voluminous (it will pretty much double in size). This stage is well worth the effort- it will give you that classic cracked top.

4) Once the egg mixture is ready, pour the chocolate mix down the side of the bowl and fold in using a large metal spoon. Add the gluten free flour and do the same until you have a smooth, lump free batter. Now add the chocolate chunks and pecans and stir through to evenly distribute.

5) Tip the mix into the prepared tin and level off. Bake for 25-30 minutes.

6) When it’s ready, the brownie will have a flaky crisp top but will still be gooey and moist on the inside. Set aside to cool (completely) in the tin then remove, slice up and serve.


Mince Pie Bars

Pastry, Uncategorized

These Bakewell inspired bars are made up of a crisp pastry base, zesty mince meat centre, cinnamon frangipane top, toasted almond sprinkling and a dollop of obligatory brandy cream; delicious and oh-so festive!

Ingredients:

  • 250g plain flour
  • 140g butter
  • 1tbsp caster sugar
  • 3 egg yolks
  • 3tbsp water
  • 1 jar good quality mince meat (optional: add the zest of 1 orange and a handful chopped walnuts to it)
  • 150g butter
  • 150g golden caster sugar
  • 75g ground almonds
  • 75g self-raising flour
  • 1/2 tsp cinnamon
  • 3 eggs
  • handful flaked almonds
  • 150ml double cream
  • 1tbsp brandy
  • 2tbsp icing sugar (plus extra for dusting)


Method:

  1. First, make the pastry (or skip steps 1 and 2 if you’re using shop bought shortcrust!). Place the butter, sugar and flour in a food processor and blitz until they form breadcrumbs. Pour into a large bowl. In a small bowl whisk together the water and egg. Add 4tbsp of this mix to the crumbs and stir with a cutlery knife. If there are still dry patches add a little more liquid until the mixture comes together to form a dough. Press into a thin disc shape and wrap in cling film. Chill for 15 minutes.
  2. Preheat the oven to 190c. Lightly grease a rectangular tart tin. Take your chilled pastry and roll out to about 3mm thick. Line into the tart tin, pushing it into the corners as you go. Chill again for 10 minutes.
  3. Now it’s time to blind bake. Screw up a piece of greaseproof paper and unfold, then press down into the case. Fill with baking beans and spread out to completely cover the base. Bake for 15 minutes until the sides are set then remove the beans and paper and bake for a further 5-10 minutes until the base is dry and sandy. Don’t let it colour as it will be returning to the oven when filled.
  4. Reduce the oven temperature to 170c.
  5. Now make the frangipane. Cream together the butter and sugar until light and fluffy then add the eggs one at a time, beating well between each addition (add a little of the flour to prevent curdling if you like). Once well combined, beat in the ground almonds and fold in the remaining flour and cinnamon.
  6. Now it’s time to assemble. Take your tart case and spread a generous layer of mince meat across the base. Top this with the frangipane and level out as best you can. Sprinkle with flaked almonds.
  7. Bake for 20-25 minutes or until the frangipane is cooked through. If the pastry or almonds are browning too much just cover loosely with foil.
  8. Once baked, cool on a wire rack while you make the brandy cream. To do this simply whisk together the brandy, cream and icing sugar until thick. Spoon onto each bar, dust with icing sugar and serve.


Cranberry and White Chocolate Brownies

Chocolate, Uncategorized

These brownies are rich, dense and studded with cranberries and white chocolate chunks- a great (and easy) festive treat to whip up for visiting family and friends over the coming weeks…

Ingredients:

  • 300g dark chocolate
  • 210g butter
  • 310g caster sugar
  • pinch salt
  • 3 eggs, 1 egg yolk
  • 3tsp vanilla extract
  • 120g plain flour
  • 150g white chocolate, chopped into chunks
  • 100g dried cranberries

Method:

  1. Preheat the oven to 180c. Grease and line a square baking tin/ brownie tray.
  2. Place the butter and chocolate in a heatproof bowl and set it over a pan of gently simmering water. Do not allow the water to touch the bottom of the bowl or it could cause the chocolate to seize.
  3. Stir the butter and chocolate occasionally until melted then set aside to cool for a few minutes. Once the chocolate has cooled a little, add the sugar and salt then whisk (with electric beaters or in the bowl of a stand mixer) until well combined.
  4. Now add the eggs and whisk on high until the mix has lightened in colour and is glossy (about 5 minutes- whisking well at this stage is what gives you that classic flaky top!).
  5. Sift in the flour and fold then finally stir in the white chocolate and cranberries. Tip into the lined baking tin and spread out. Bake for 25-30 minutes or until set but still very moist in the middle.


Enjoy!

Ginger Spice Christmas Cake with Bloom & Wild

Cakes, Uncategorized

This four layer ginger cake filled with lightly salted toffee sauce and tangy cream cheese frosting is a great alternative to the classic Christmas fruit cake, and is usually the preferred option in my house.

The Scandi-style flowers I’ve used for decoration were sent to me by Bloom & Wild, a brilliant flower delivery company who focus on carefully selecting the best seasonal blooms. The bouquet I received ( the Sadie) is part of their Christmas range and I would definitely recommend you check out their other options; I don’t know about you, but I find it tricky to find a wide range of good quality cut flowers outside of London (I know, first world problems), so it’s great to know I can choose more unusual varieties online and have them delivered straight to my door the next day by Bloom & Wild.

I hope you like how I’ve made use of the flowers and perhaps this could inspire some other botanical themed Christmas cakes!

Ingredients:

  • 380g butter
  • 220g black treacle
  • 80g golden syrup
  • 340g dark brown soft sugar
  • 6 eggs
  • 380g self raising flour
  • 3tbsp ground ginger
  • 2tbsp ground cinnamon
  • 60g soured cream
  • 6 pieces stem ginger, grated (from a jar)
  • For the toffee sauce: 50g butter, 50g dark brown soft sugar, 50g golden syrup, 75ml double cream, large pinch sea salt
  • For the cream cheese frosting: 200g unsalted butter (soft), 250g cream cheese, 900g icing sugar, seeds of 2 vanilla pods

Method:

  1. Preheat the oven to 170c. Grease and line two 8 inch cake tins.
  2. Place the butter, treacle, syrup and sugar in a large bowl (or bowl of a standing mixer). Beat together until light and fluffy.
  3. Add the eggs in one at a time along with a little of the flour to prevent curdling. Mix well between each addition. Once the eggs are fully incorporated, sift in the remaining flour, cinnamon and ginger. Fold gently then finally stir in the stem ginger and soured cream. Split between the 2 prepared tins and bake for 30-40 minutes.
  4. While the cakes are cooking, make the toffee sauce. Place the butter, syrup and sugar in a saucepan and melt over a medium heat. Once melted pour in the cream and add the salt. Mix to create a smooth sauce then set aside to cool and thicken.
  5. Now make your cream cheese frosting. Put the butter in a large bowl (or the bowl of a stand mixer) and beat until fluffy and light in colour. Add the cream cheese and vanilla and beat once again until well combined. Now, still beating, gradually add the icing sugar. Once all the icing sugar has been added increase the speed and mix until the consistency is light, thick and spreadable.
  6. When the cakes are ready, a skewer should come out clean when inserted. Rest in their tins for 10 minutes then remove and leave on a wire rack until they are completely  cool.
  7. Now you are ready to assemble your layer cake. Level off the sponges as best you can then slice in two (you should be left with 4 layers). Place one layer down on your plate or cake board. Secure with some cream cheese frosting if it’s a little slippy. Now spread over a few tablespoons of the toffee sauce. Allow it to sink into the sponge then apply a thick even layer of cream cheese frosting. Top with the next sponge and repeat until the sponges are used up.
  8. With the remaining cream cheese frosting, cover the cake all over and smooth down with a cake scraper. Decorate with fresh flowers dusted in frosty edible glitter or get creative and come up with your own design to suit the occasion.

More decorating ideas: 

  • Leave the cream cheese frosting rough and decorate with mini gingerbread houses to create a snow drift scene.
  • Top with traditional/vintage Christmas cake decorations.
  • Make little white meringue kisses and cover the top of the cake with them, then dust with gold edible glitter.
  • Top with frosted fruit and rustic greenery.

Enjoy!

Cardamom, Pistachio and White Chocolate Cake

Cakes, Uncategorized

This cake is super easy to bake and is great if you’re looking to experiment with different flavours; the cardamom adds a distinct hum of spice to the light sponge which pairs really well with the earthy pistachios and super sweet white chocolate topping.

Ingredients:

For the cake:

  • 350g soft butter
  • 350g caster sugar
  • 6 eggs
  • 375g self raising flour
  • 1tsp baking powder
  • pinch salt
  • 1 1/2 tsp cardamom seeds, crushed to a fine powder
  • 150ml milk
  • 100g chopped pistachios

For the topping:

  • 150g white chocolate, chopped into small pieces
  • a few crushed pistachios and some dried rose petals (optional)

Method:

  1. Preheat the oven to 160 (fan). Generously grease a bundt in with butter then sprinkle over some flour. Shake to coat the edges completely then tip out any excess (this should ensure that the cake doesn’t stick).
  2. Cream together the butter and sugar with an electric whisk  (or a stand mixer) until light and fluffy. Add the eggs one at a time, beating between each addition (add a little bit of the flour each time if you’re worried about curdling!).
  3. Once the eggs are fully incorporated and you have a smooth mixture, add the (remaining) flour, baking powder, salt milk, and cardamom. Whisk until light and well combined.
  4. Now fold in the pistachios and scrape the batter into the prepared bundt tin. Even out and bake for 30-40 minutes.
  5. When your cake is ready a skewer should come out clean when inserted. Once cooked, rest for 5 minutes in the tin then turn out onto a wire rack and allow to cool completely.
  6. While your cake is cooling, melt the white chocolate gently in a heatproof bowl above a pan of simmering water. Set aside to cool.
  7. Once your cake and topping have cooled you’re ready to decorate. To do this drizzle the white chocolate over the bundt and let it drip down the sides. Sprinkle with pistachios and rose petals for a simple but elegant finish.