Spiced Christmas Buns with Cranberry and White Chocolate

Bread, Uncategorized

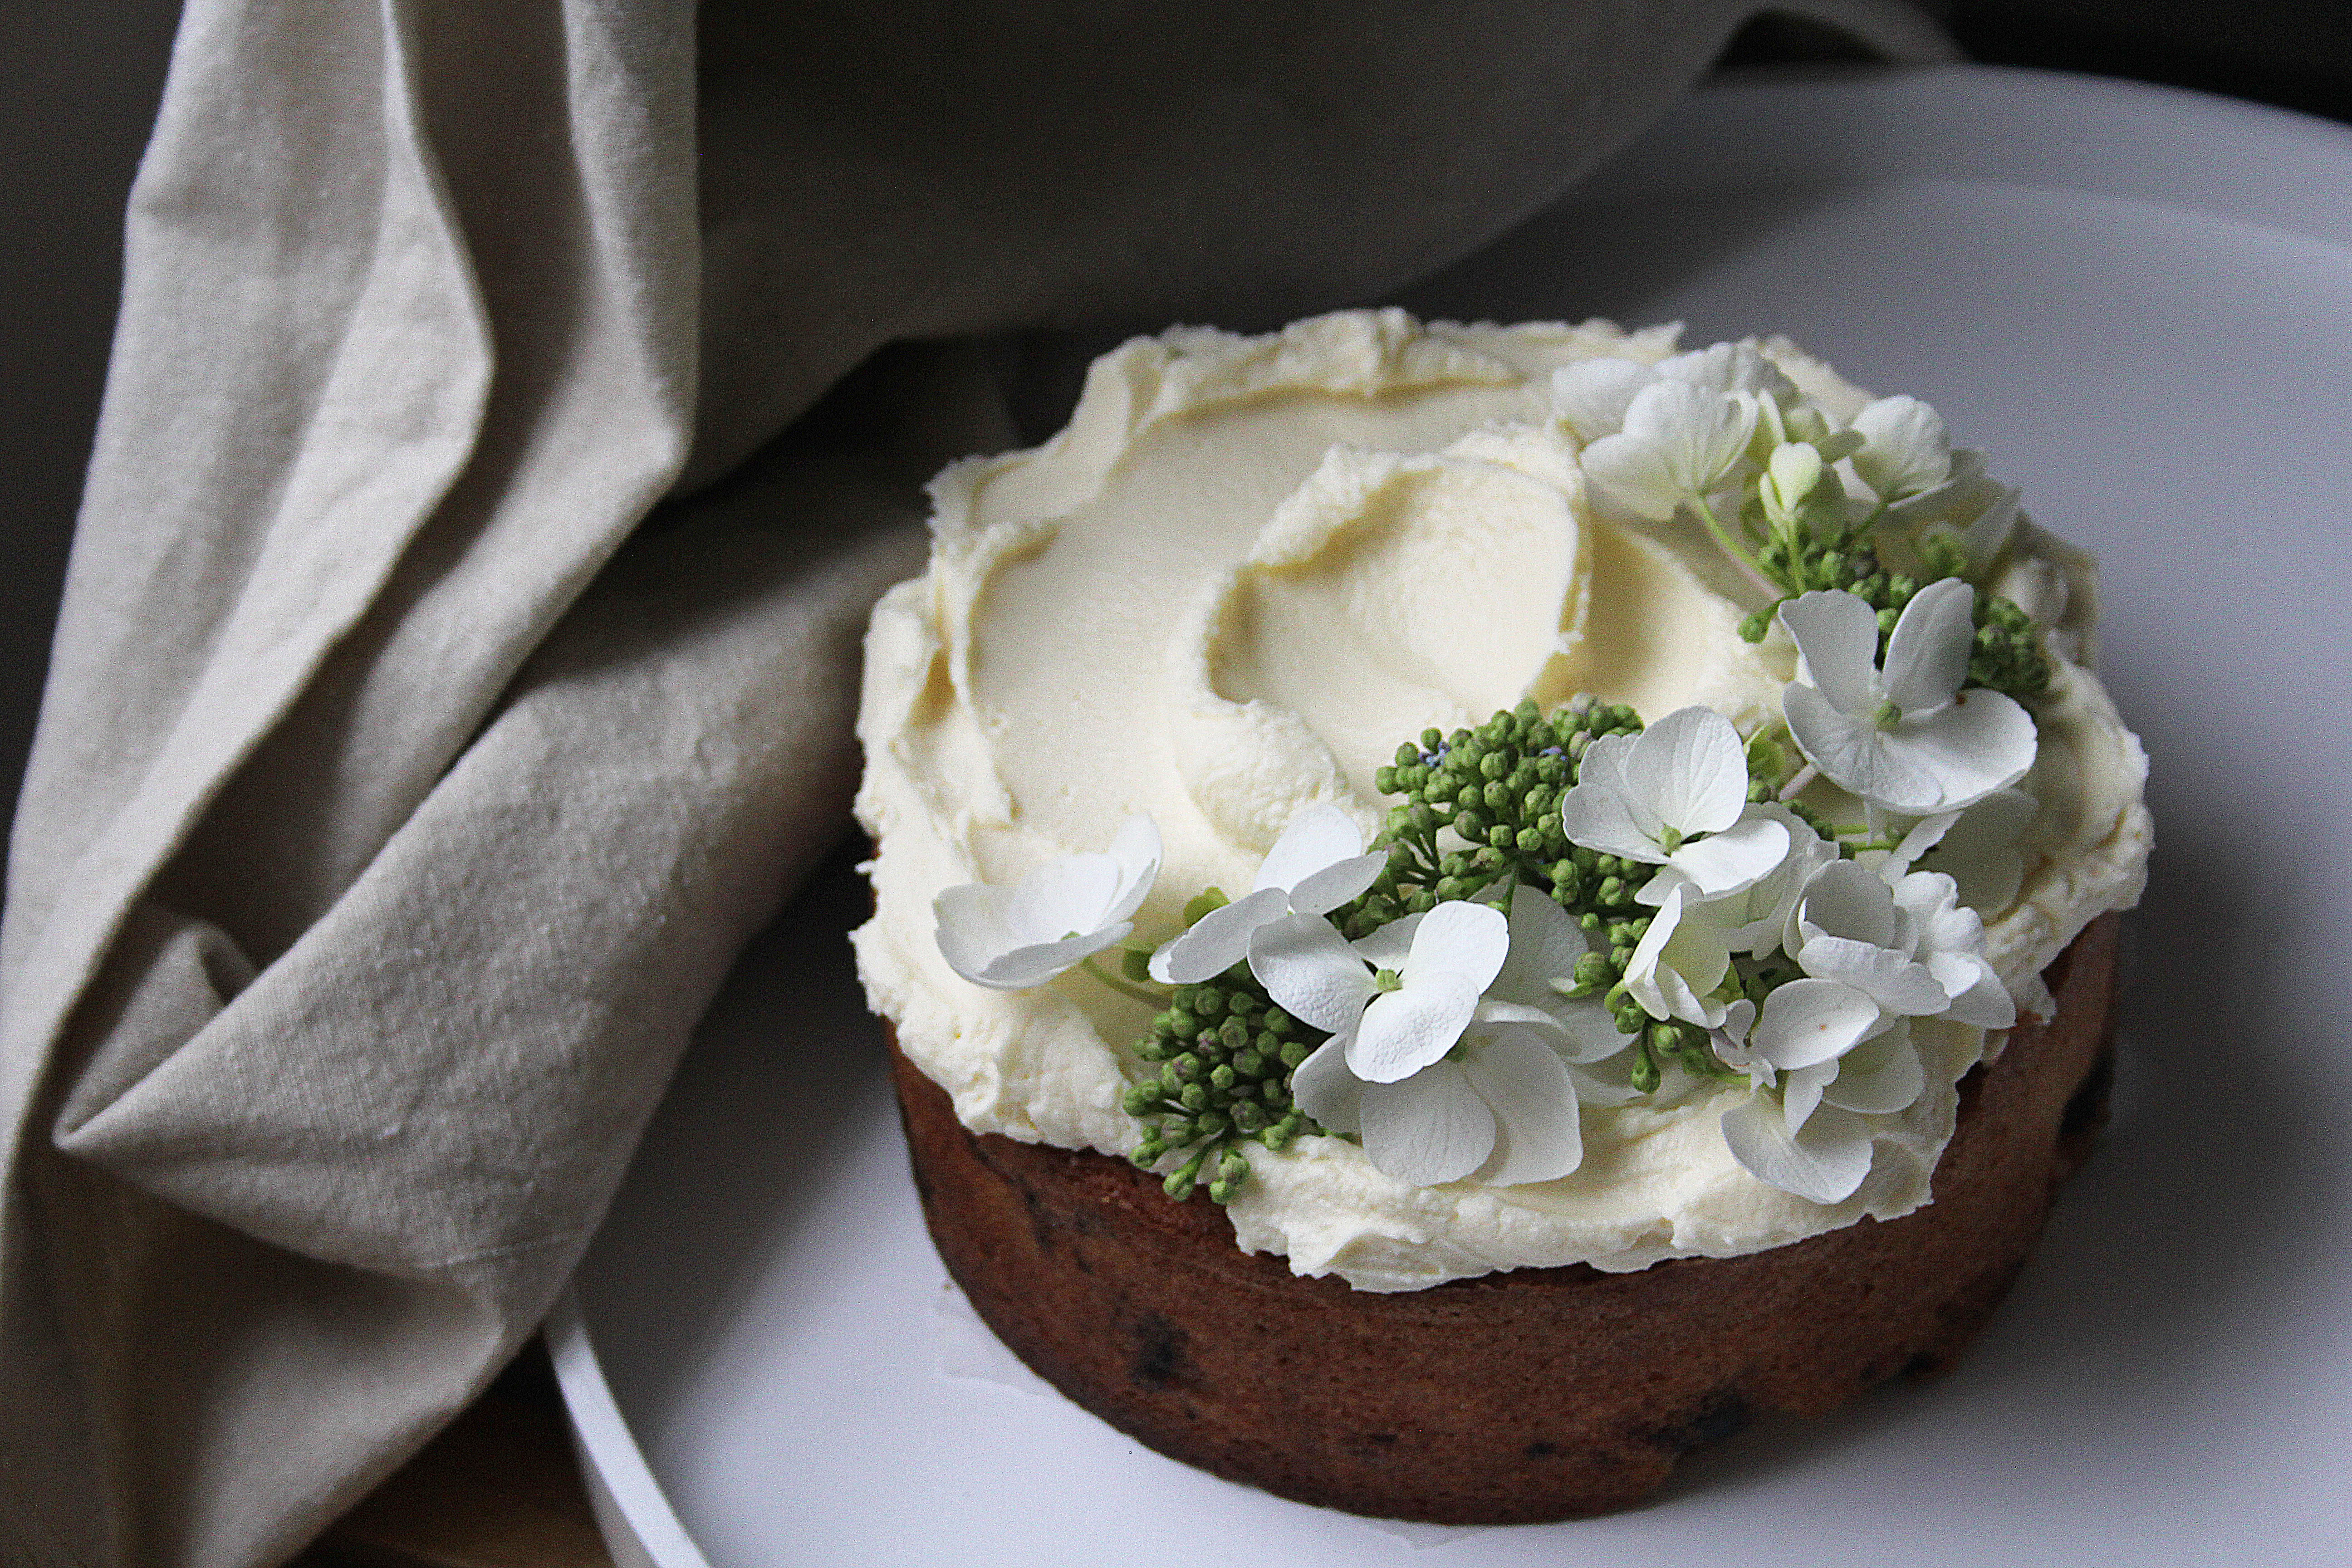
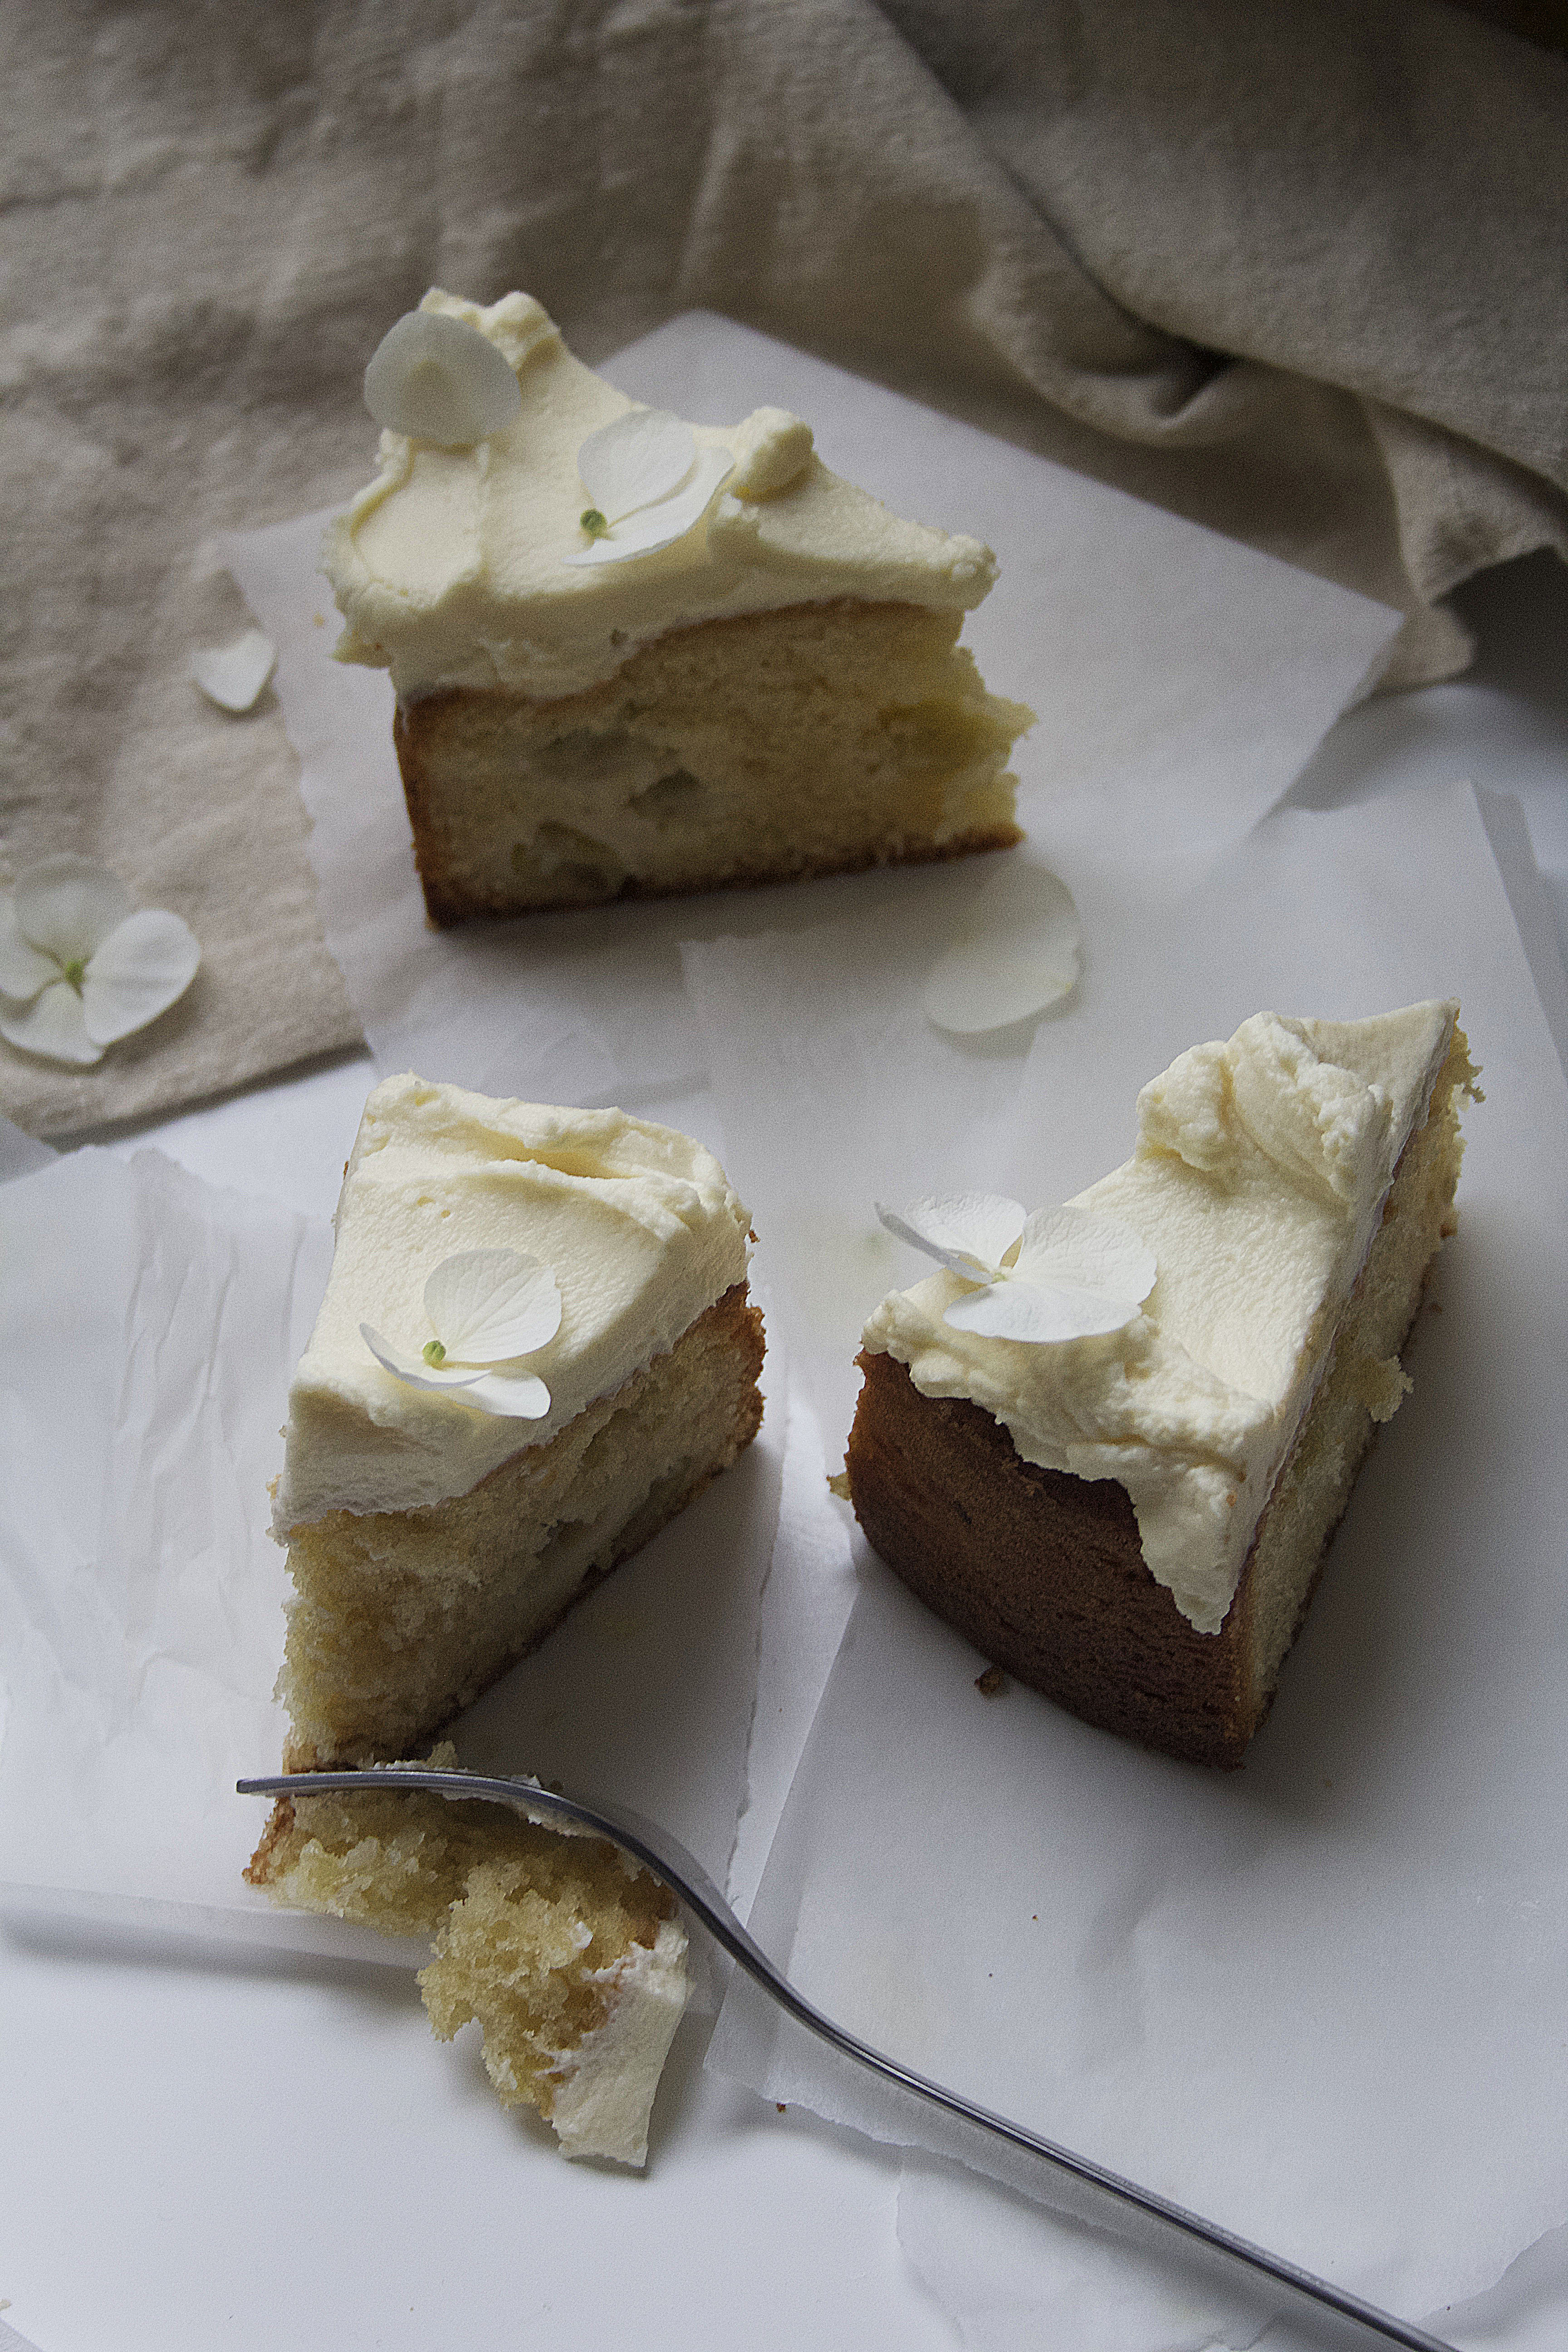
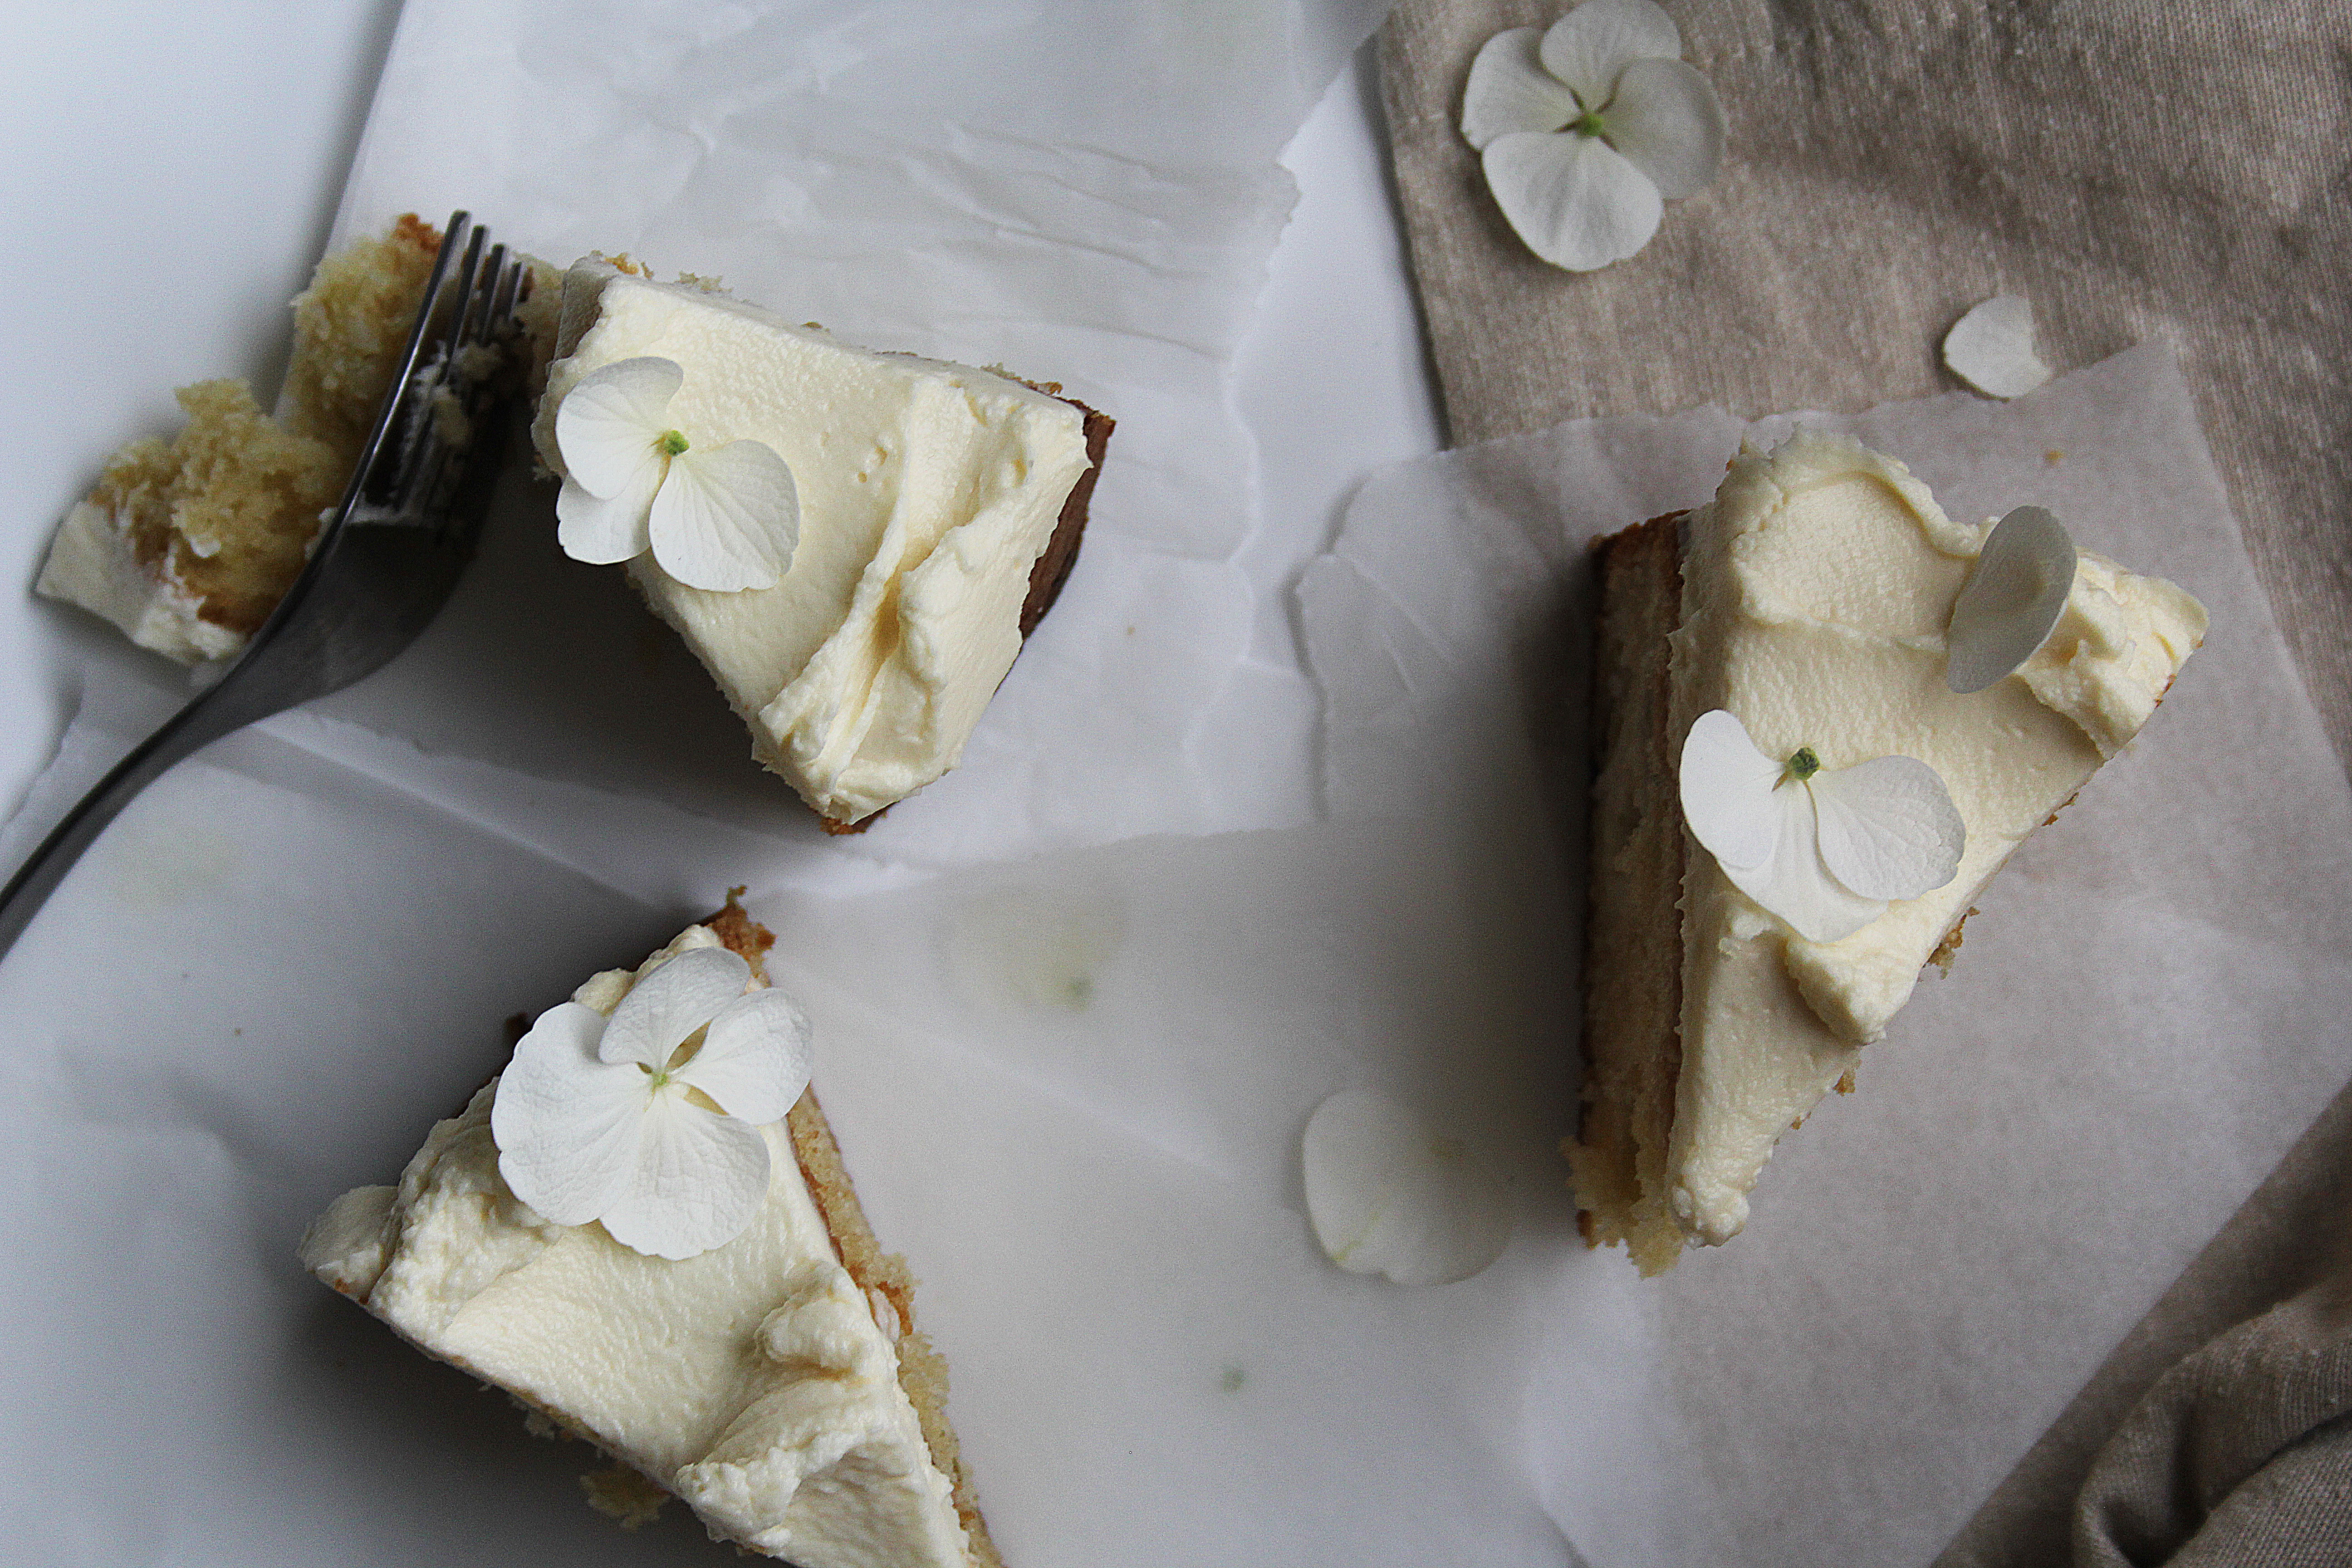
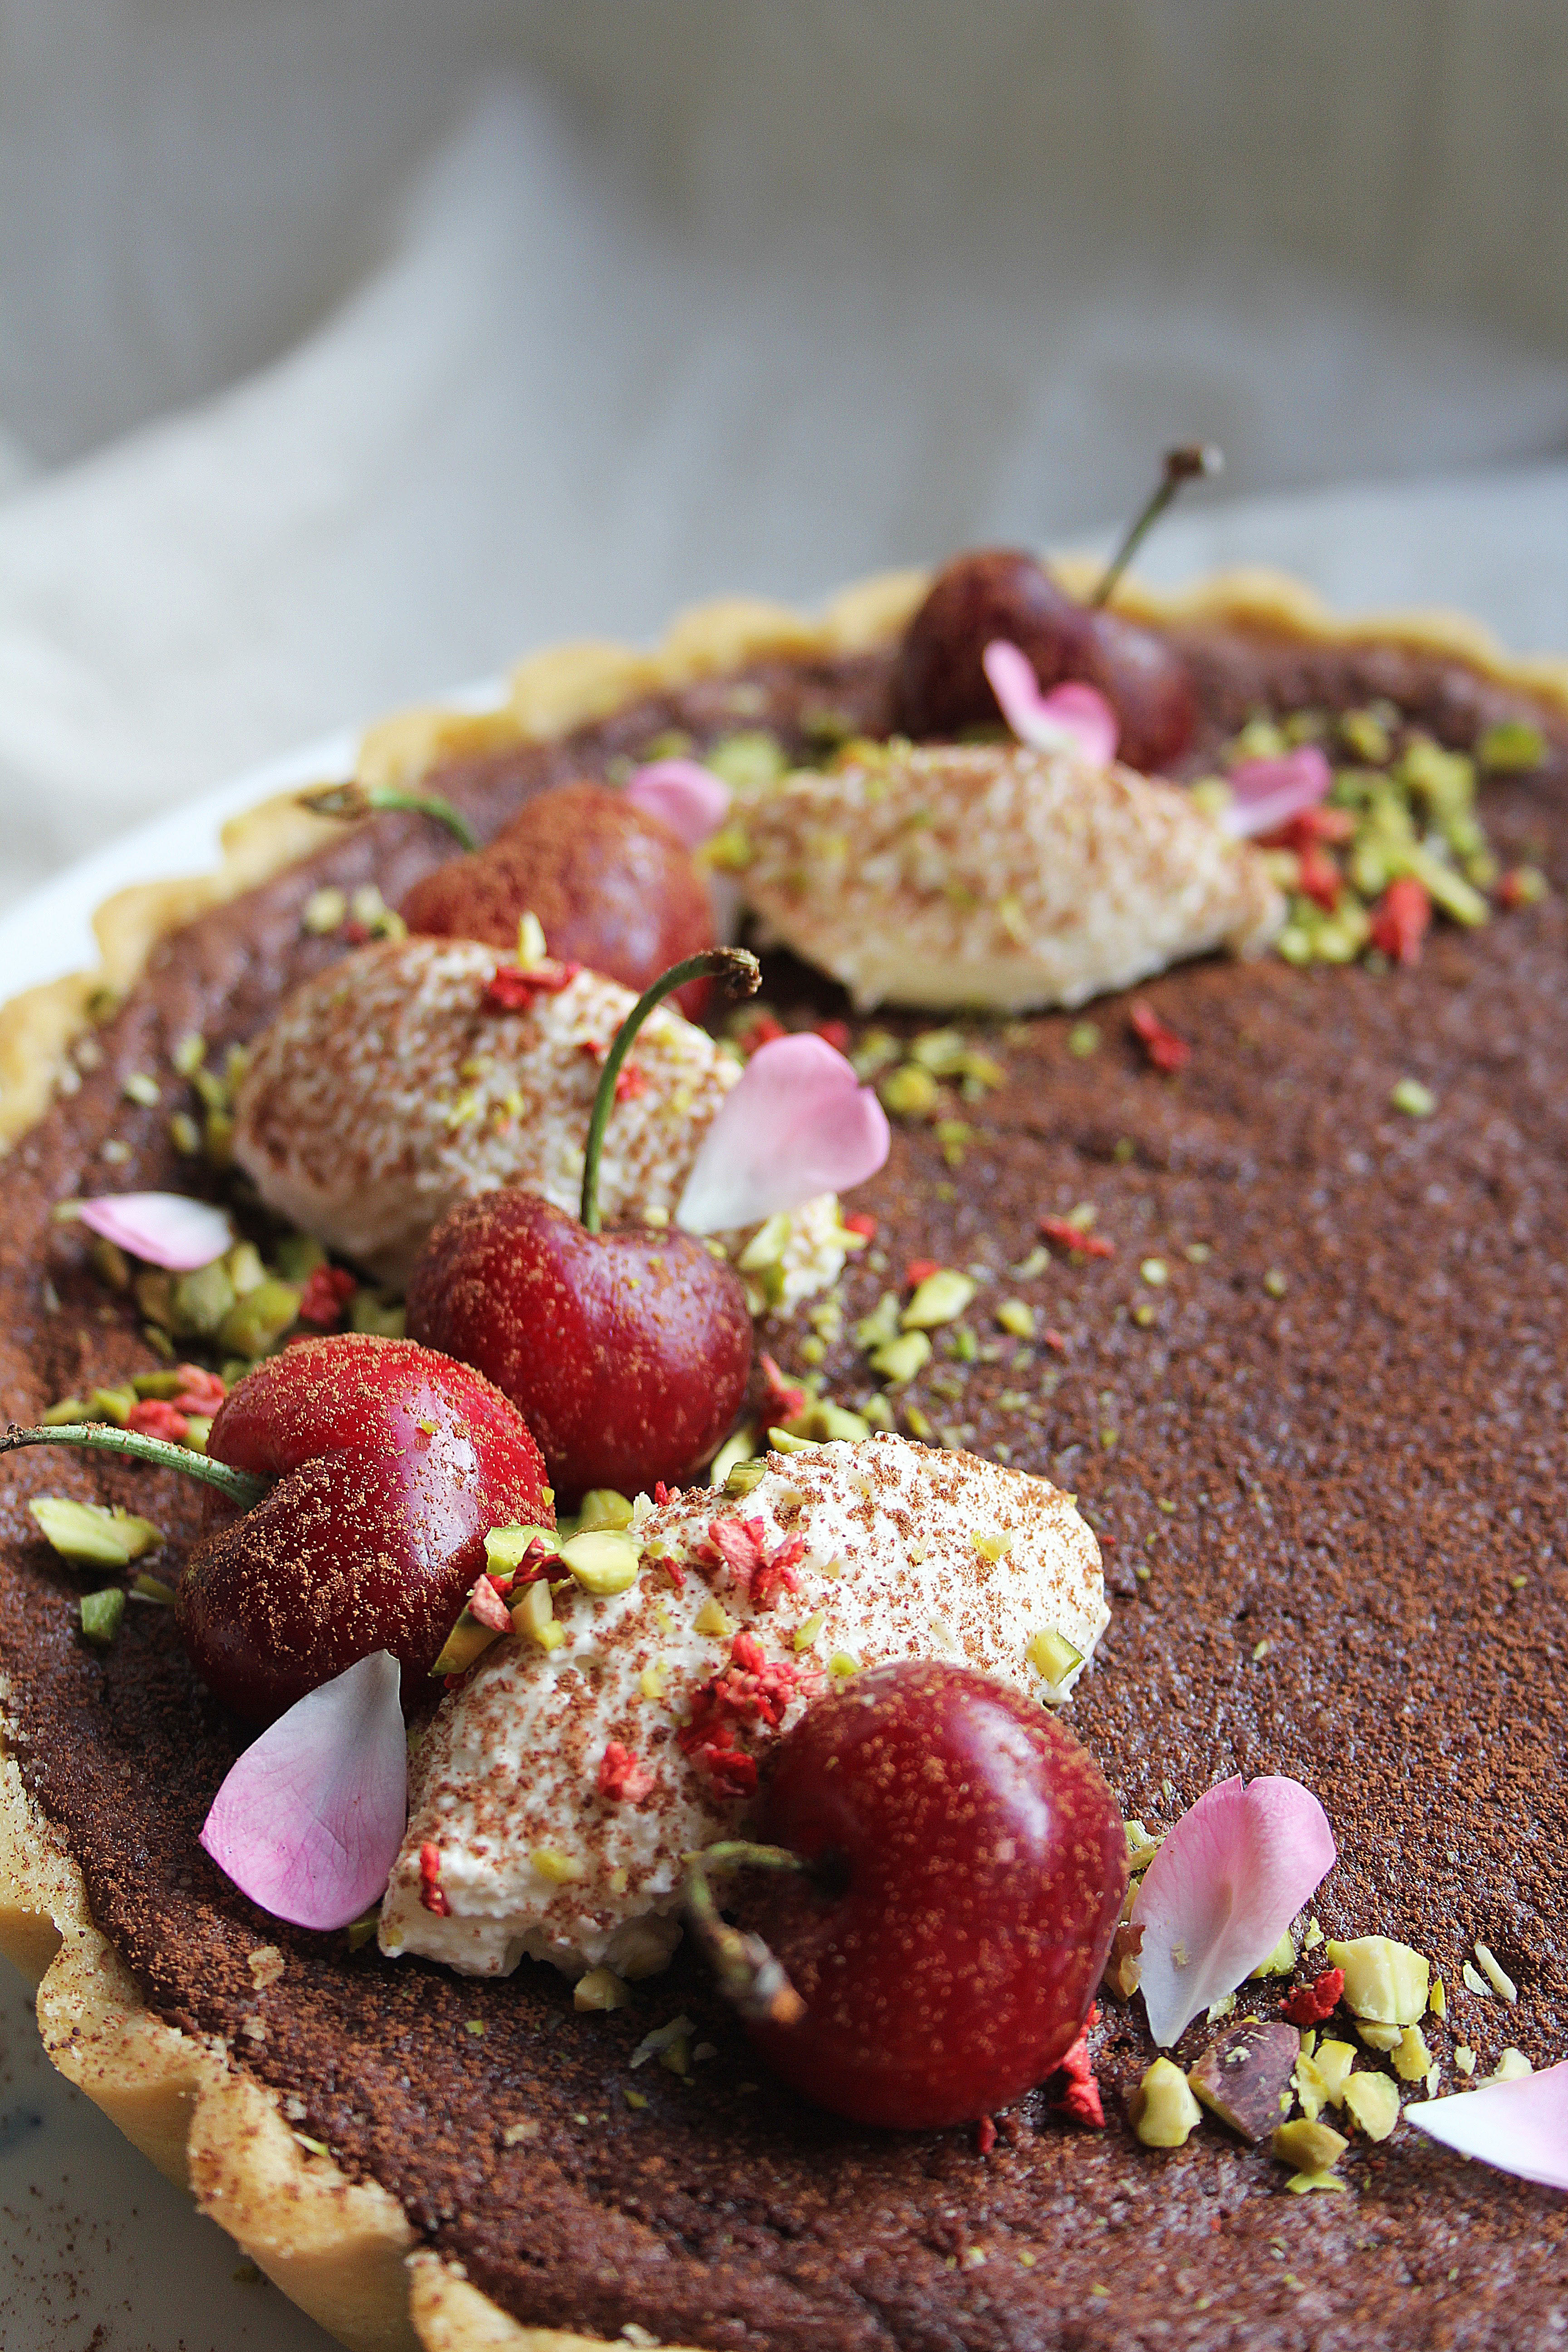
In the words of Jez (Peep Show reference, sorry if you don’t watch it), ‘I am a Christmassist’. I love everything associated this time of year; heady spices, mulled anything, twinkling lights, the smell of fir, infinite chocolate, roll necks and nostalgic films. With that in mind, I’ve got lots of festive recipes lined up for December, kicking off with these spiced buns, packed full of orange-soaked fruit and white chocolate- delicious warm from the oven with a strong coffee.

Ingredients

For the dough

  • 75g butter, plus extra for greasing
  • 220ml milk
  • 50g caster sugar
  • 1tsp sea salt
  • 500g strong white bread flour
  • 2 sachets fast action dried yeast (14g)
  • 2 eggs (1 for the dough and 1 for glazing)

For the filling

  • 75g dried cranberries, roughly chopped
  • 50g sultanas, roughly chopped
  • Zest and juice 2 oranges
  • 125g butter, softened
  • 125g dark brown soft sugar
  • 1tsp ground cinnamon
  • 1tsp ground ginger
  • 1/2 tsp mixed spice
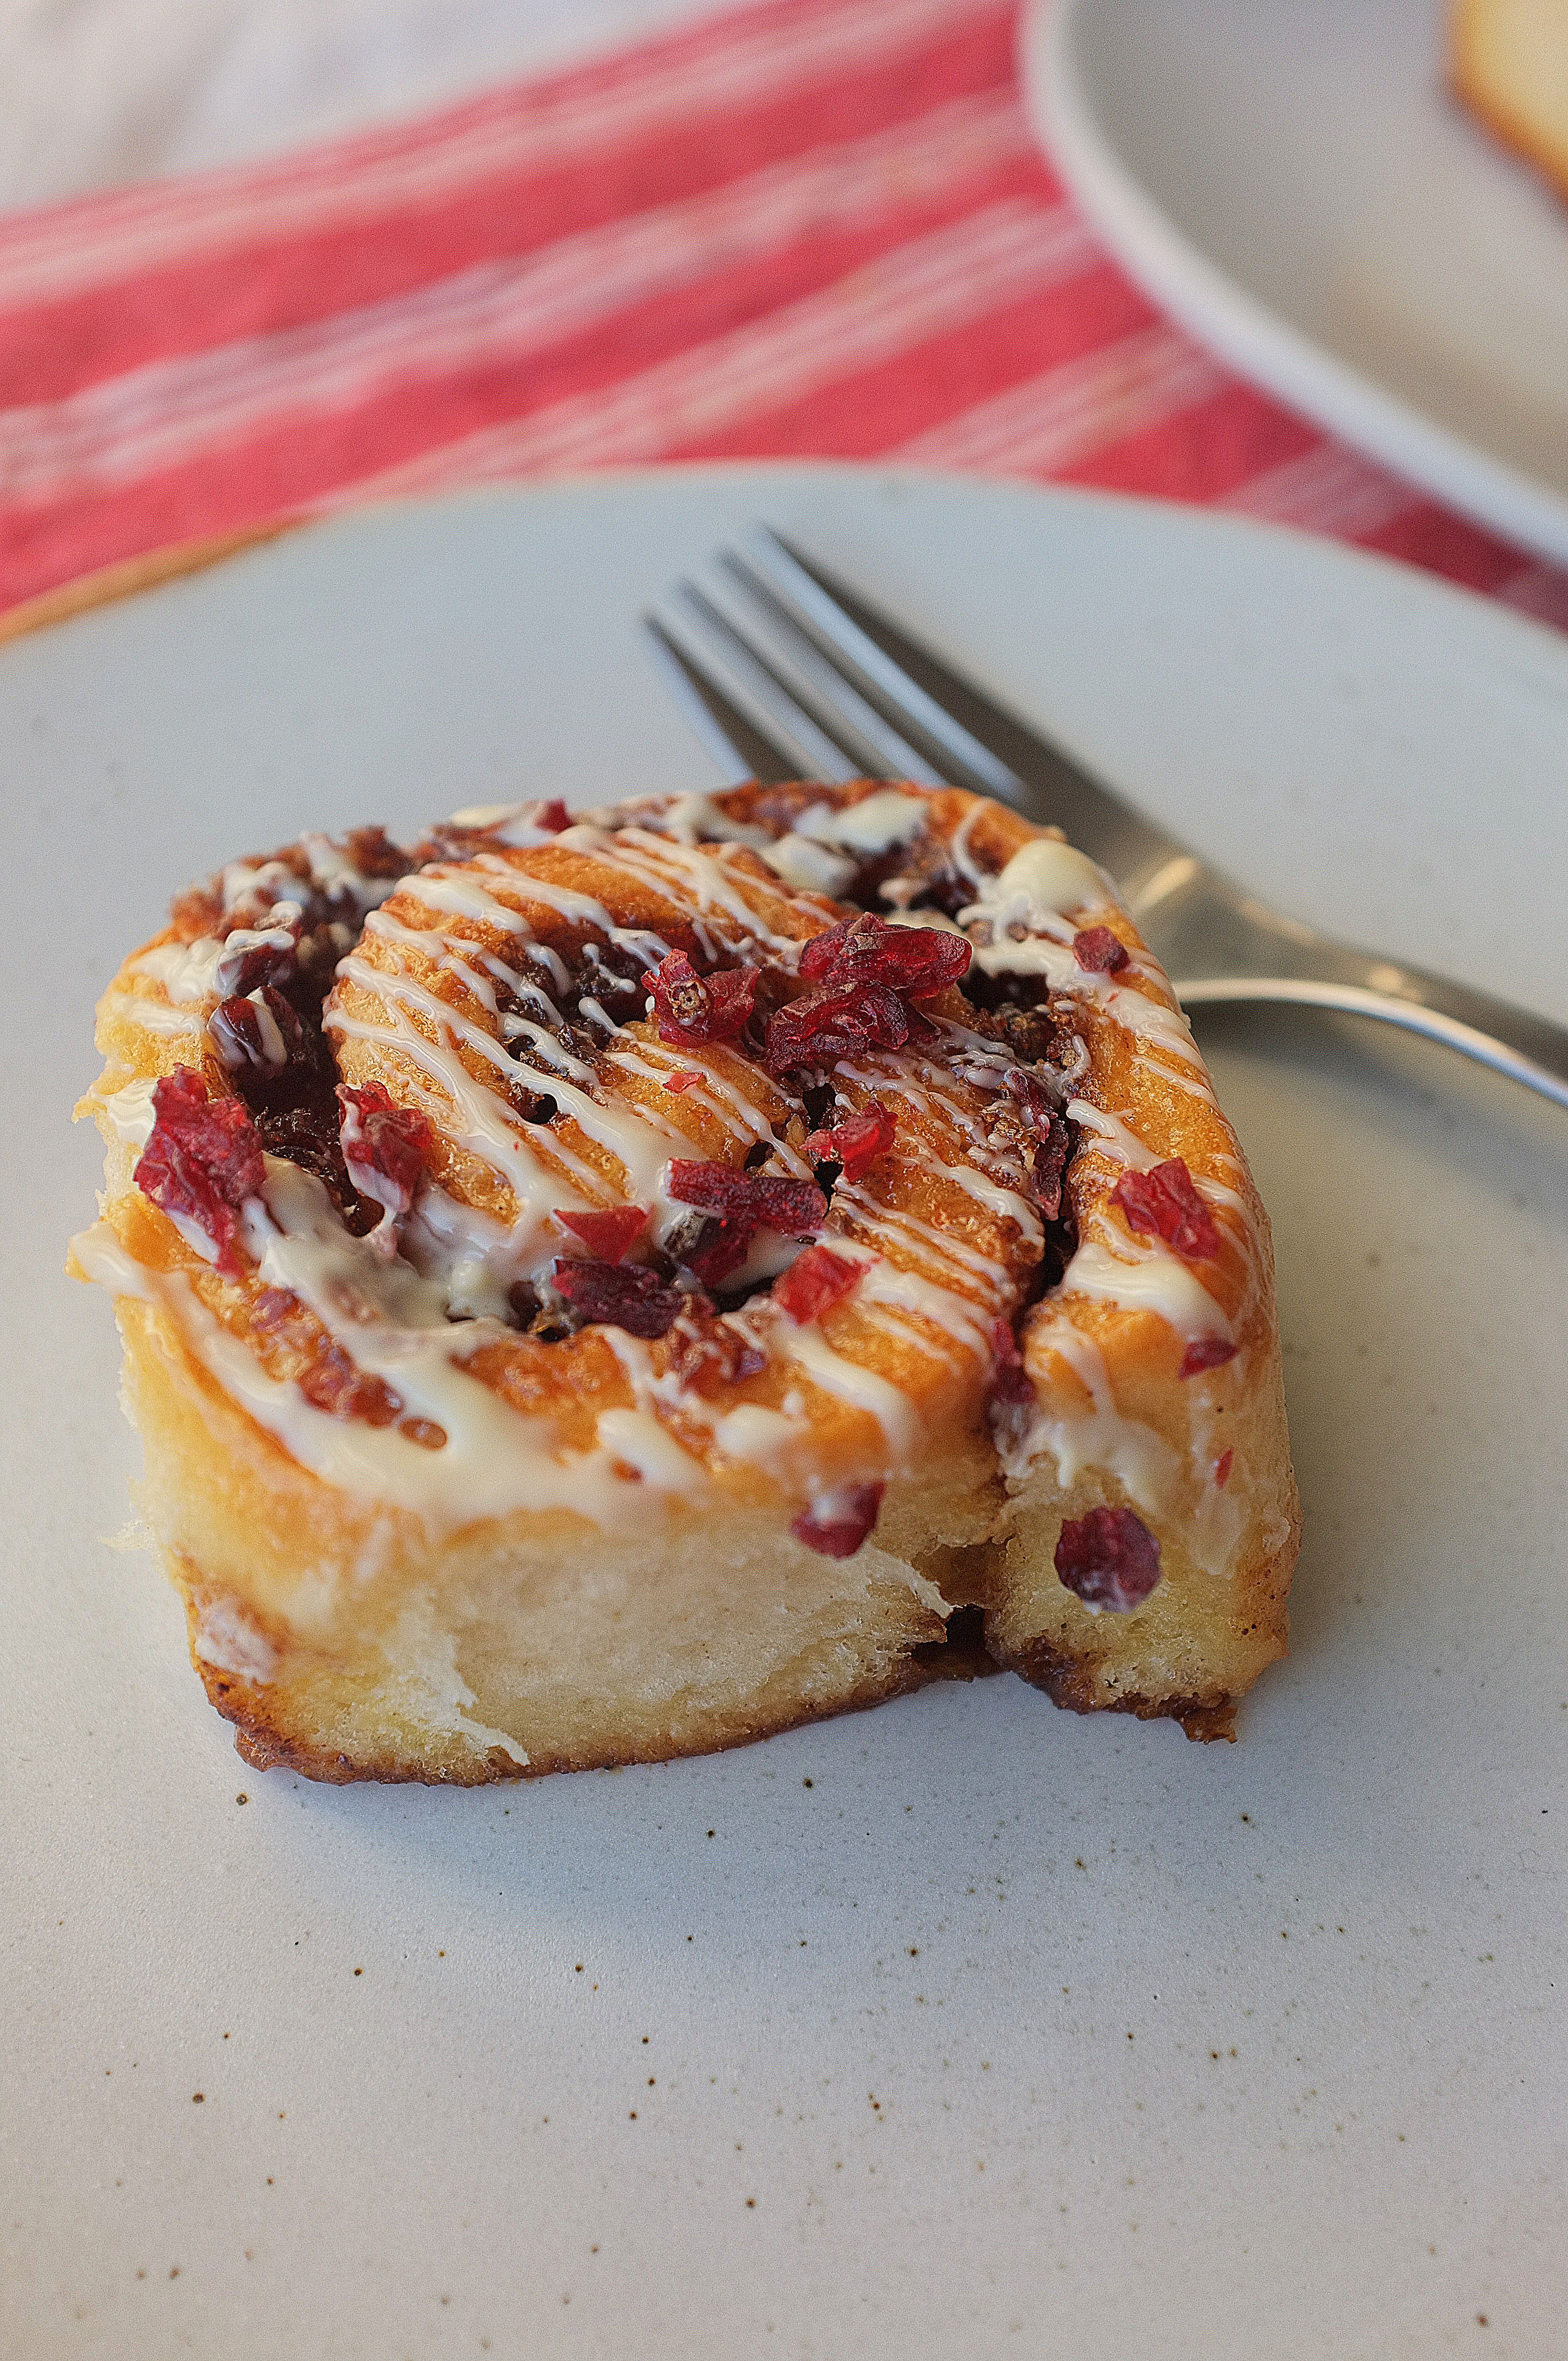
  • 100g white chocolate, roughly chopped

For the topping

  • The reserved orange juice, plus 3tbsp caster sugar
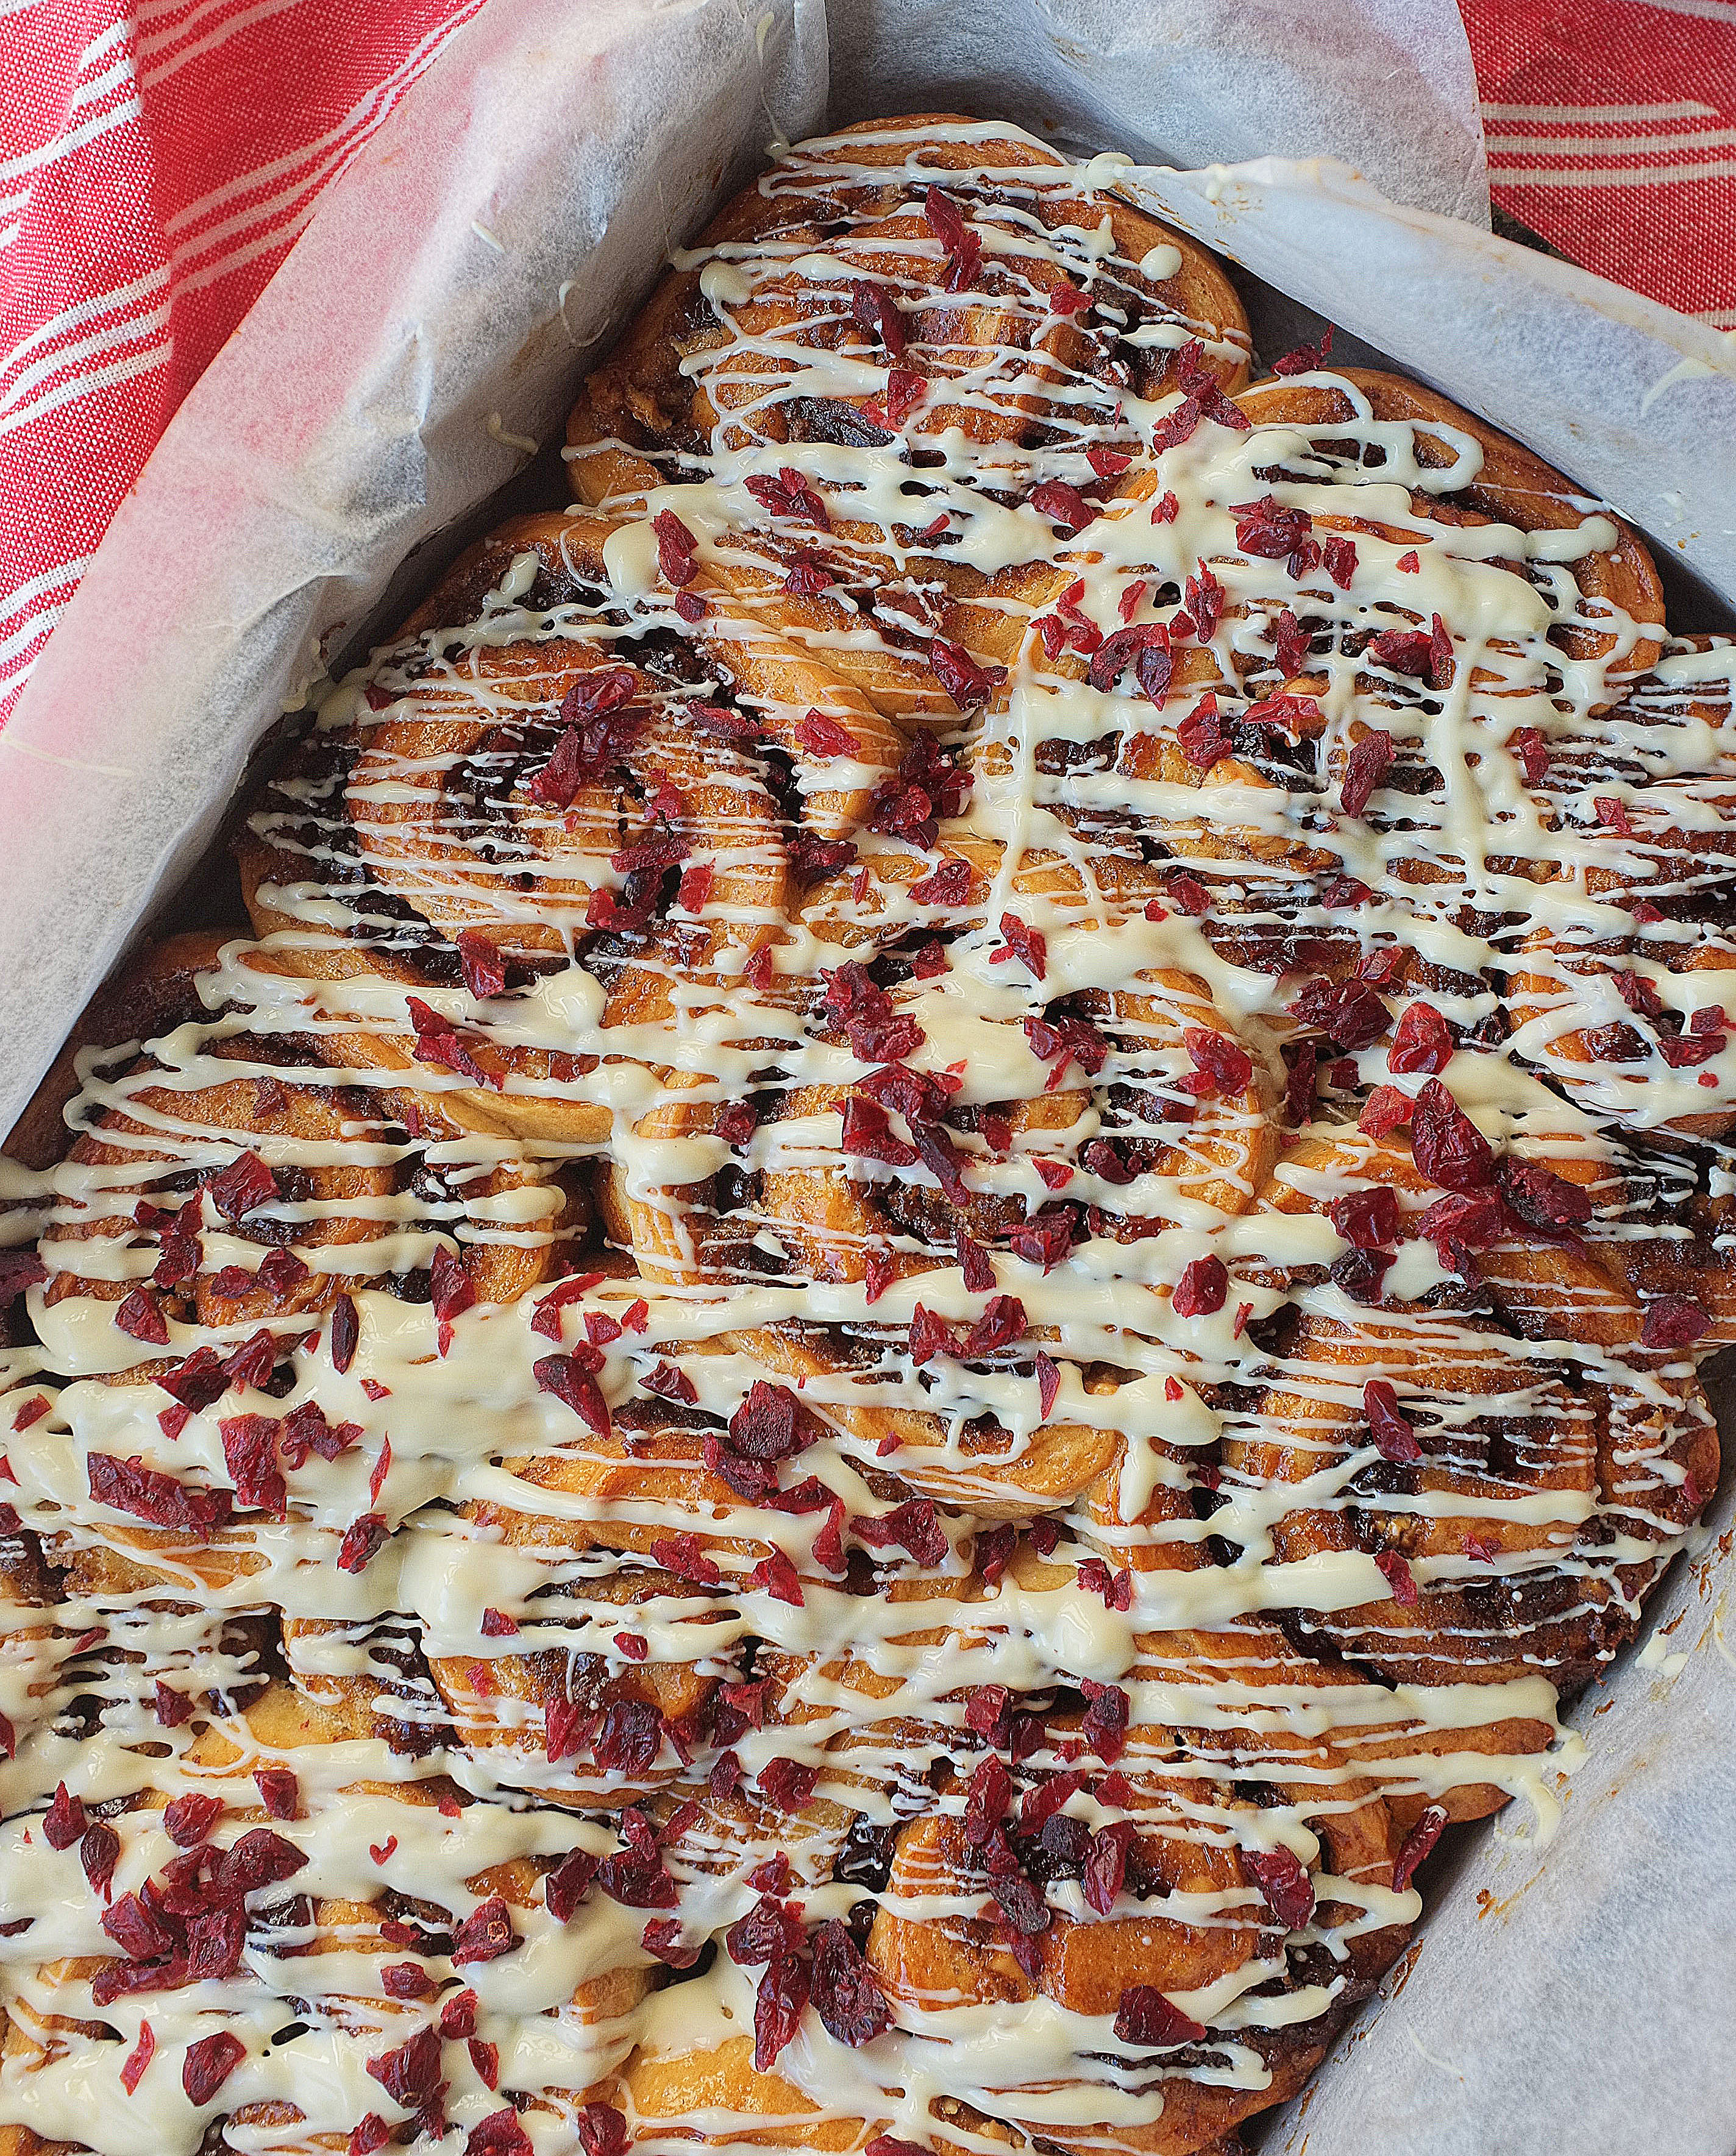
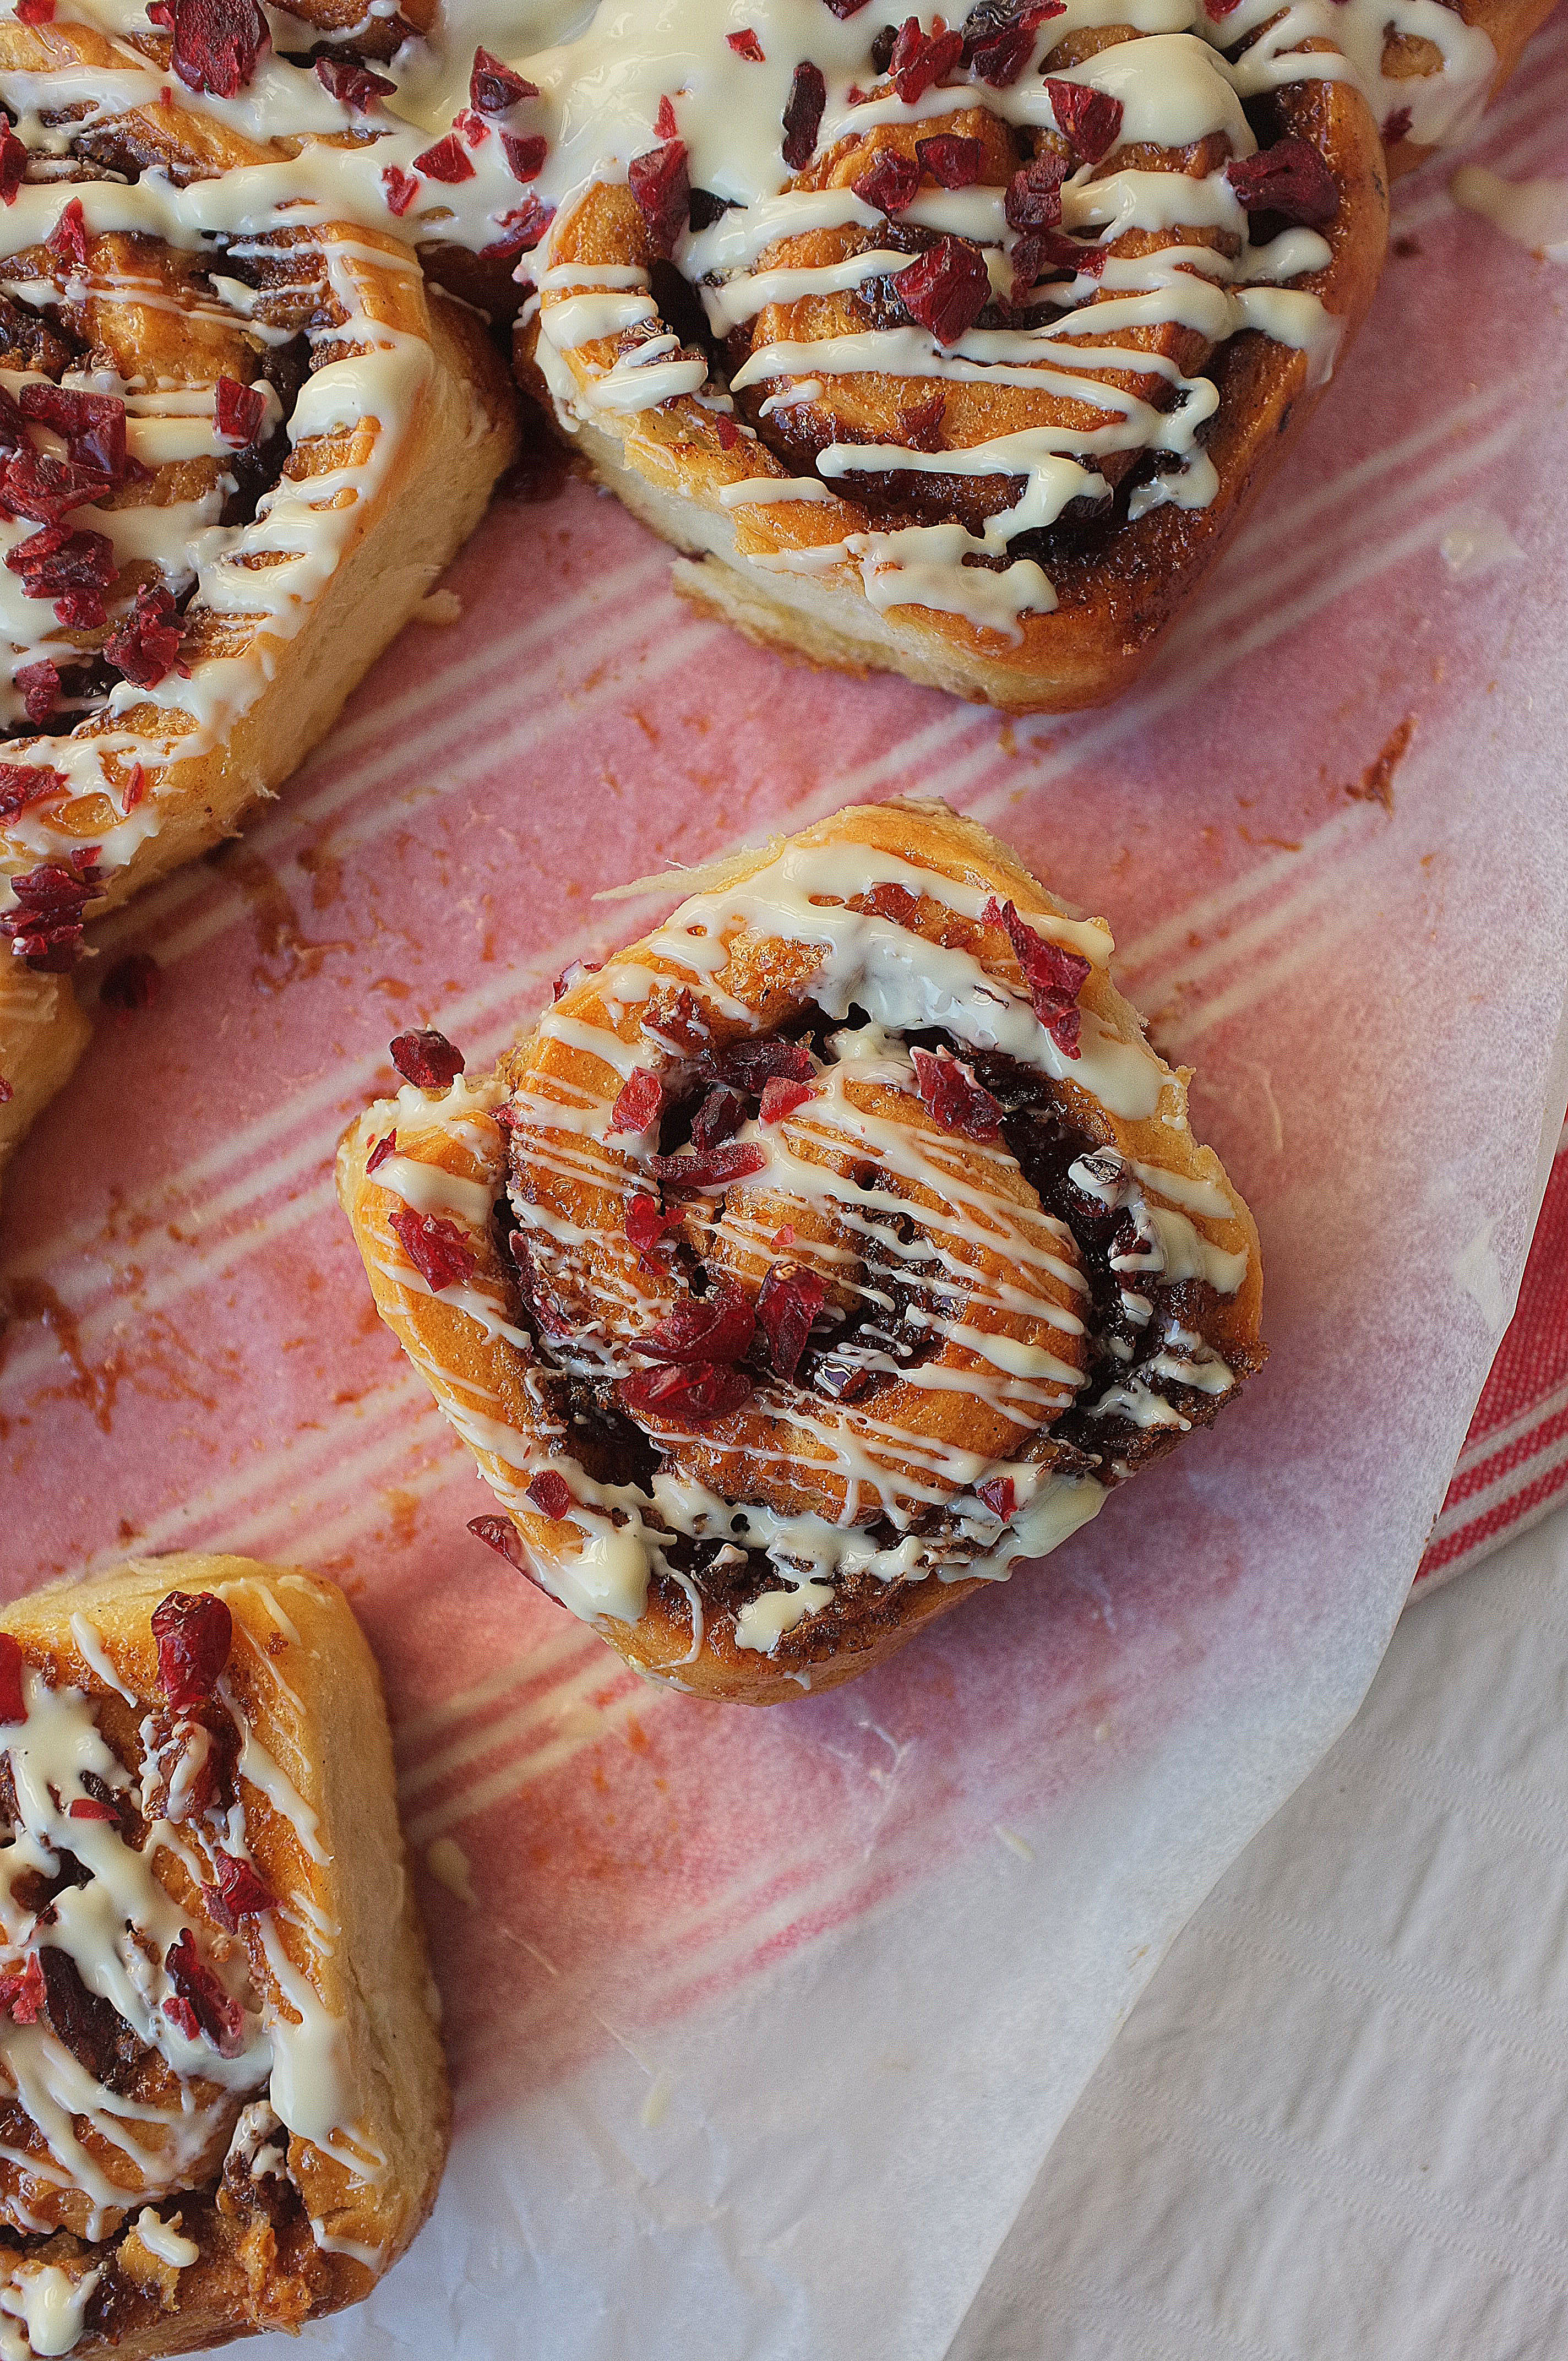
  • A few extra cranberries, roughly chopped (optional)
  • 75g white chocolate, melted (optional)

Method

  1. Start off by making the dough. Put the butter and milk into a saucepan and very gently heat until the butter melts, then set aside until lukewarm. Stir together the sugar, salt, yeast and flour in a large bowl (or bowl of a stand mixer with dough hook attached) then make a well and add in the lukewarm milk/butter and one of the eggs. Mix the wet ingredients into the dry, first using a wooden spoon to bring everything together, then using your hands to form a soft dough (alternatively, do this by setting your dough hook to a low speed).
  2. Once you have a soft dough, turn it out onto a very lightly floured surface and knead for about 10 minutes (or just keep the dough in your stand mixer bowl and increase the speed of your dough hook for 6-8 minutes) or until your dough is smooth, stretchy and elastic.
  3. Now tip the dough into an oiled bowl, cover with oiled cling film and leave to prove for about an hour and a half, or until doubled in size.
  4. For the bun filling, place the cranberries, sultanas, orange zest and orange juice in a bowl and leave to soak for half an hour. Meanwhile, beat together the butter, sugar, cinnamon, ginger and mixed spice until smooth. Grease a high sided 20x30cm rectangular tin or 25x25cm square tin and line with greaseproof paper.
  5. Once the dough has proved, tip out onto a lightly floured surface and roll into a rectangle, about 5mm thick. Spread the cinnamon butter mixture across the surface of the rectangle in an even layer, ensuring that you go all the way to the edges. Now strain the orange juice away from the dried fruits into a saucepan (save this for later). Sprinkle the fruits over the cinnamon butter then lastly distribute the chopped white chocolate.
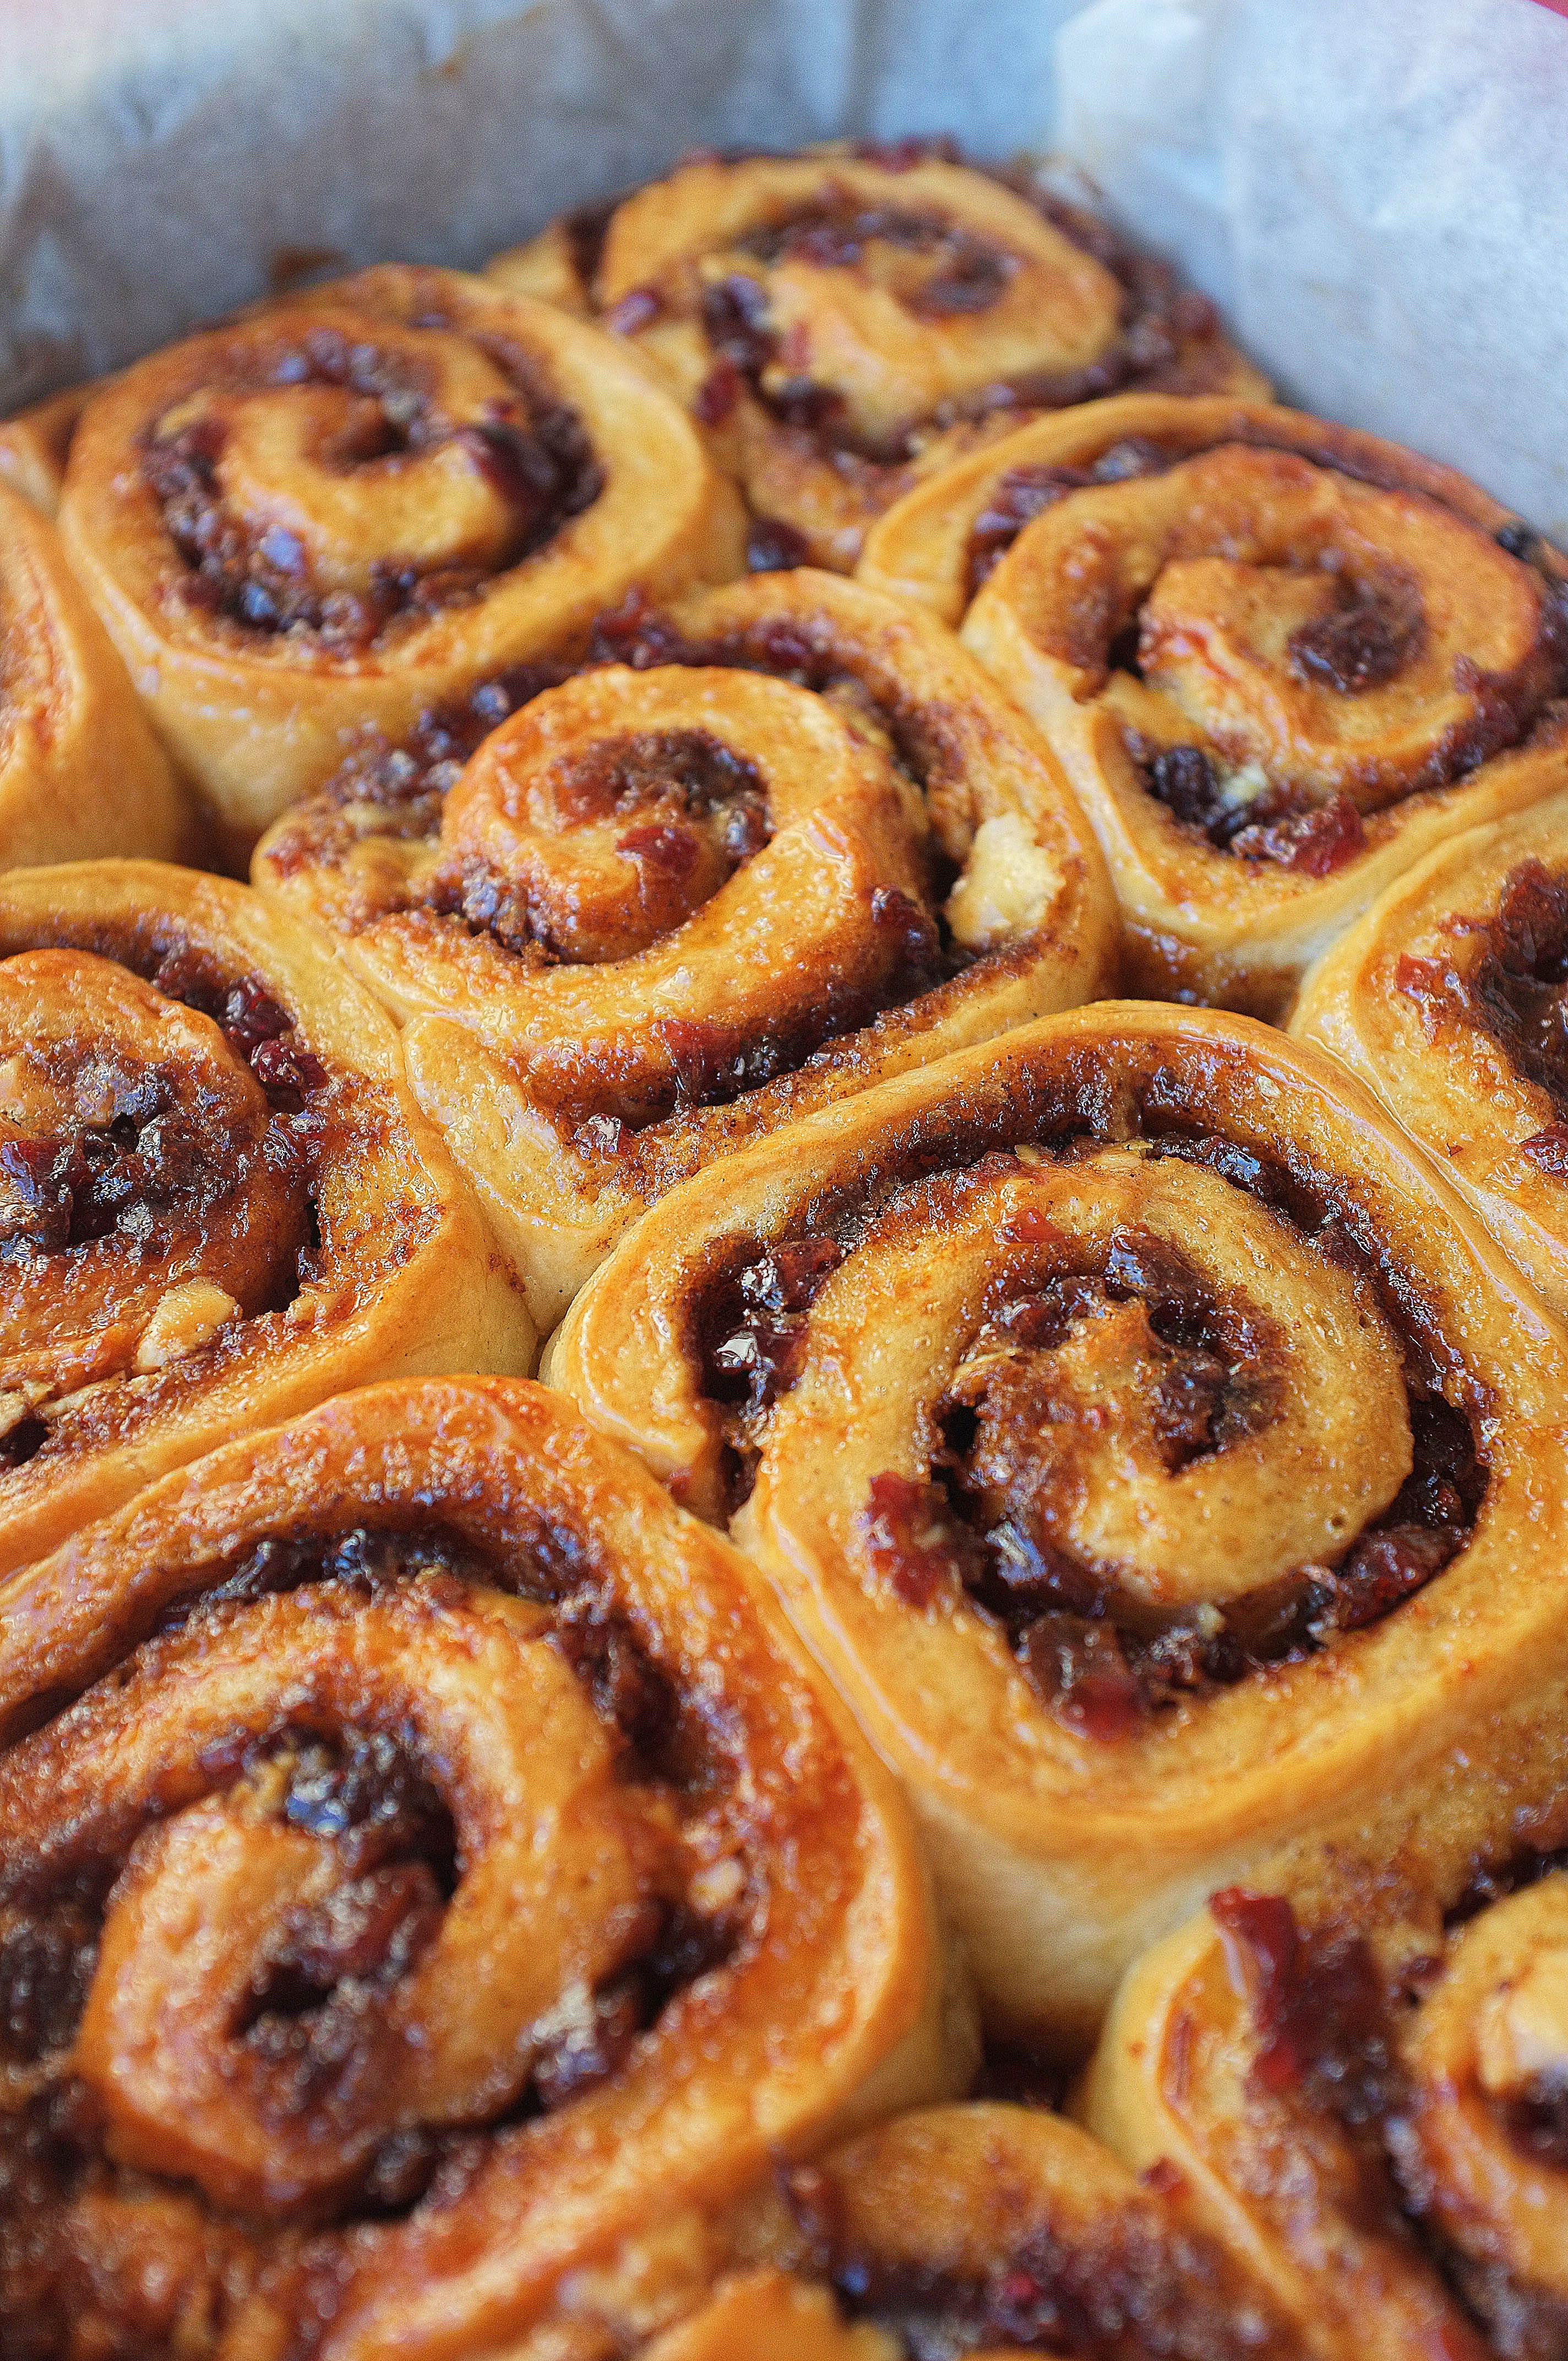
  6. Now, with the long side facing you, roll the rectangle up like a roulade. Slice into 12 even slices if you’re using a rectangular tin (about 2cm wide) or 9 even slices if you’re using a square (about 2.5cm wide). Arrange the pieces, swirl side up, in the prepared tin and cover with a piece of lightly oiled cling film. Leave to prove for 30-40 minutes or until well risen and springy (before this prove there will be little gaps between the buns, but they should be just touching when ready to bake). Preheat the oven to 180c.
  7. Once risen, whisk the remaining egg and brush all over the tops of the buns. Bake for 40-45 minutes or until golden and cooked through. Meanwhile, place the reserved orange juice and caster sugar in a saucepan and heat gently, until the sugar dissolves and the mixture is syrupy. When the buns are baked, brush the syrup all over the tops, then drizzle on the white chocolate and finish with chopped cranberries, if you like.

Advertisement

Pecan Pie Cheesecake with Brown Butter Pastry and a Caramel Core

Uncategorized

I’m under no illusion that this bake is a bit of a project and should probably come with a health warning, but I can honestly say that the the result it delivers is well worth the effort and extra 4539 calories (joking about the calories… although probably not far off). I’ve gone for a brown butter rye pastry in place of a biscuit base here, which might sound controversial (maverick), but it matches up to the nutty pecan topping really well and acts as a great textural contrast to the smooth, caramel-cored cheesecake filling. Give it a go, but be warned, it’s been described as ‘like crack’ by my eloquent taste-testers (who aren’t and never have been ‘on crack’, for the record).

Ingredients

For the base

  • 150g butter
  • 175g plain flour
  • 75g rye flour
  • 1tsp cinnamon
  • 50g icing sugar
  • 2 egg yolks
  • 2tbsp milk

For the caramel core

  • 100g caster sugar
  • 25ml water
  • 50ml double cream
  • pinch sea salt
  • 2tbsp rum or bourbon (optional)

For the filling

  • 600g full fat cream cheese
  • 150g caster sugar
  • 2tbsp corn flour
  • 2 eggs
  • 180ml soured cream
  • pinch salt

For the topping

  • 1 egg
  • 50g dark brown soft sugar
  • 3tbsp golden syrup or honey
  • 1tbsp butter, melted
  • 1tbsp plain flour
  • 100g pecan halves, lightly toasted

Method

  1. Start off by browning the butter for the pastry. To do this simply melt it in a pan until it’s gently foaming, smells nutty and is a light golden brown colour. At this stage pour the butter in a heatproof bowl and pop in the fridge or freezer to set hard.
  2. While the butter is firming up, make the caramel core. Place the sugar and water in a pan and gently heat until the sugar has completely dissolved and you are left with a clear syrup, then increase the heat and boil until it reaches a deep golden brown. Add in the cream (be careful as it will spit!) and stir for a further two minutes on the heat, then remove from the heat and add the salt and rum to taste. Set aside until needed.
  3. Back to the pastry; once your butter has firmed up, chop into cubes and tip into a food processor along with the flours, cinnamon and sugar. Pulse until it resembles breadcrumbs, then add in the milk and egg yolks. Pulse again a few times until the mix comes together in large lumps, then tip out onto your work surface and shape into a disc. Wrap in cling film and chill for 10 minutes. Preheat the oven to 180c. Grease a 2.5inch tall/ 8inch wide spring form cake tin with butter and place a disc of greaseproof paper in the base.
  4. Roll out the pastry to about 3mm thick on a floured work surface then line the prepared tin, pushing the pastry into the corners as you go (I actually find it easier to cut out a circle of pastry for the base and 2 long rectangles for the walls when I’m using a cake tin for pies and tarts- just make sure you blend the joins between the pieces together and don’t leave any gaps). Trim away any excess from the top of the tin, prick a fork all over the base (not all the way through) to prevent air bubbles, then chill for 10 minutes, or until very firm. If you like you can cut out some leaves for decoration at this stage.
  5. Once firm, line the pastry case with baking paper and fill with baking beans (ensuring that they come all the way to the top of the walls), then blind bake for about 15 minutes, or until the walls are supporting themselves. At this stage, remove the paper and beans and return to the oven for another 10-15 minutes, or until the pastry is cooked through and golden. Set aside. Reduce the oven temperature to 120c.
  6. For the cheesecake filling simply whisk together the cream cheese, sugar and corn flour until smooth, then add in the eggs one at a time, beating well between each addition. Lastly, whisk in the soured cream and salt. Tip half of this mixture into the pastry case then drizzle over the caramel. Top with the remaining cheesecake mix (this should come to about an inch below the rim of the pastry case). Bake for 50-55 minutes, or until the middle retains a little wobble. Set aside and allow to settle and cool down slightly. Increase the oven temperature to 170c.
  7. While the cheesecake is baking, mix together all the topping ingredients, except the pecans,until smooth. Once your cheesecake has cooled to a point where it’s no longer hot to the touch, arrange the pecan halves across the surface, then pour over the syrupy mixture. Return to the oven for 10-15 minutes until the topping has thickened slightly. Set aside to cool then chill to set up for at least 4 hours (ideally overnight). When you’re ready to serve, run a knife around the edge of the tin and gently release the cheesecake, then slice up and enjoy!

Miso Caramel Chocolate Fondants with Salted Cashew Crunch

Uncategorized

A classic, but better; think filthy dark chocolate fondant with an oozing liquid centre, then throw in the addition of pooling, hot, slightly-savoury miso caramel sauce and a salted, nutty crunch topping. Need I say more?

Ingredients (these quantities yielded 6 large fondants but would make 8 smaller ones)

For the miso caramel

  • 100g caster sugar
  • 25ml water
  • 50ml double cream
  • 2tbsp white miso
  • pinch salt

For the chocolate fondant base

  • 180g butter, plus a little more for greasing
  • A little cocoa powder, for dusting
  • 250g dark chocolate
  • 275g golden caster sugar
  • 4 eggs
  • 175g plain flour

For the salted cashew crunch

  • 75g cashews, toasted
  • 100g caster sugar
  • Generous pinch salt
  • 1tbsp sesame seeds

Method

  1. Before you make the chocolate mix, make the miso caramel. To do this place the sugar and water in a saucepan and heat gently until the sugar has completely dissolved, then increase the heat and boil until it reaches a deep golden colour. At this stage, add the double cream and stir for another minute before taking the saucepan off the heat and adding the miso paste and salt. Stir until smooth, taste and adjust the level of salt then pour into a heatproof tub and chill until firm.
  2. For the salted cashew crunch place the sugar in a pan and melt, then allow it to turn golden brown and add the cashews, sesame seeds and salt. Stir to coat the cashews with the caramel then tip onto a piece of greaseproof paper and leave to set hard, then roughly chop into a coarse crumb.
  3. Preheat the oven to 180c. Grease the insides of the fondant moulds with the extra butter, then dust with cocoa, shaking to coat. Tip out any excess then place all the moulds on a baking tray, ready to be filled.
  4. For the chocolate mix, place the chocolate and butter in a large heatproof bowl set over a pan of simmering water. Stir occasionally until smooth then set aside to cool a little. Whisk in the sugar (using a good old fashioned hand whisk will do) then the eggs, one at a time. Fold in the flour and once you’ve got a smooth mix split half of it between the moulds. Now create a little indent in the middle of the chocolate in each mould and scrape in a heaped tablespoon of your caramel. Top up with the remaining chocolate mix until each mould is filled to about 2cm below the rim.
  5. Bake the fondants for 17-22 minutes or until they are set on top and around the sides but still have a slight wobble in the middle (this time will vary from oven to oven and mould to mould so keep an eye on them- bare in mind my moulds have a 2inch wide base/3 inch wide rim/are 2 inches in height, and the fondants took 22 minutes in my old school oven!).
  6. Once the fondants are ready, leave to sit for a minute or two then run a knife around the edge of each mould. Carefully turn the fondants out onto serving plates and sprinkle with some salted cashew crunch. Serve with vanilla ice cream for added indulgence.


Enjoy!

Orange, Cardamom and White Chocolate Shortbread

Biscuits, Uncategorized

These buttery shortbreads, dipped in white chocolate and flavoured with warming cardamom and citrus, have got me feeling (dare I say it) pretty festive. The format might be a bit retro but there’s something comforting and nostalgic about bedding in with a batch of homemade biscuits and a cup of builder’s tea at this time of year. Give them a try for a quick and easy twist on a classic.

Ingredients (makes 20-24 biscuits)

  • 225g soft butter
  • 100g caster sugar
  • zest 1 orange
  • 150g plain flour
  • 1 1/2 tsp ground cardamom
  • 75g rye flour
  • 100g cornflour
  • Pinch of salt
  • 100g white chocolate
  • 50g pistachios, finely chopped (optional)

Method

  1. Place the butter, sugar and orange zest in a large bowl (or bowl of a stand mixer with paddle attachment) and beat until very light and fluffy. Add in the flours, salt and ground cardamom and beat briefly until the flour is just incorporated and the mix starts to come together in large clumps (it’s important not to over-mix here as beating for too long could result in a tough biscuit which isn’t buttery and short!).
  2. Bring the mix together with your hands and roll out on a floured surface to about 1cm thick. Stamp out biscuits using a cookie cutter (or just slice the dough into squares with a knife) and line up on a lined baking tray. Chill for at least 30 minutes, or until firm. Preheat the oven to 180c.
  3. Once your biscuits have firmed up, bake for 12-15 minutes or until the edges are golden. Leave to cool on a wire rack.
  4. Melt the white chocolate in a heatproof bowl set over a saucepan of simmering water (or melt in the microwave at 30 second increments, stirring between each) then dip each biscuit in, about half way up. Place the dipped biscuits on a piece of greaseproof paper for the chocolate to set and sprinkle with pistachios.

Enjoy!

Craquelin Choux Buns with Honeyed Walnuts, Mascarpone and Orange

Pastry, Uncategorized

A couple of months ago I bought, then promptly forgot about, some delicious pine honey which I intended to use as the central flavour in a pastry-based recipe. Now that it’s been retrieved from the depths of my cupboard it has well and truly fulfilled that destiny in these crisp craquelin choux buns. Simply filled with honeyed orange mascarpone and walnuts (also baked in the honey and a little salt) these make for a delicious treat, but served alongside honey butterscotch sauce and they’re next level- perfect for a fancy Autumnal dessert.

Ingredients

For the craquelin top

  • 55g unsalted butter, cubed, at room temperature
  • 65g soft light brown sugar
  • 65g plain flour

For the choux

  • 85g butter
  • 220ml water
  • 100g plain flour
  • 3 eggs (plus 1 extra for glazing)
  • pinch of salt

For the filling

  • 300g mascarpone
  • 200ml double cream
  • 2tbsp (heaped) good quality honey (I used Greek Pine Honey)
  • Zest of 2 oranges

For the honeyed walnuts

  • 100g walnuts
  • 2tbsp (heaped) good quality honey (as before)
  • good pinch salt

For the sauce (optional)

  • 75ml honey
  • Juice 1/2 orange
  • 25g butter
  • 100ml double cream
  • Generous pinch salt

Method

  1. Start off by making the craquelin topping (when baked, this forms a crispy sweet layer). To do this simply mix the butter, sugar and flour in a large bowl (or in the bowl of a stand mixer with paddle attachment on a slow speed) until it starts to form large lumps, then bring it together with your hands. Place the dough on a large piece of baking paper, top with another piece of baking paper, and roll out to about 3mm thick. Pop this onto a tray and leave in the freezer to solidify.
  2. To make the choux, put the water, butter and salt in a saucepan set over a medium heat (do not let it boil at this stage). Meanwhile, sieve the flour to remove any lumps. When the butter has melted into the water, increase the heat and bring to a rolling boil, then tip in the flour and stir vigorously until you have a smooth paste-like mix which comes away from the edges of the pan. Continue to stir for another minute to cook out the rawness of the flour, then tip into a clean bowl and close cover with cling film (this eggless stage is known as a ‘panade’). Leave to cool to room temperature.
  3. Preheat the oven to 190c. Line 2 large baking trays with greaseproof paper.
  4. Once the panade has cooled it’s time to add the eggs; whisk in a jug to break them up then very gradually add into the panade while beating with electric beaters. Stop adding the egg (you might have a little leftover) when the smooth, lump-free mixture reluctantly drops off the end of a spoon. Pile the choux mix into a piping bag, fitted with a large round nozzle.
  5. Pipe rounds of about 4cm wide onto the prepared baking trays, leaving plenty of room for expansion. Whisk the remaining egg in a bowl and brush a small amount onto each mound, smoothing down the tip. Take your craquelin sheet and stamp out 3cm circles. Place one on top of each choux mound (the egg will help secure it in place). Bake the choux for around 35 minutes, then skewer a small hole in each bun and return to the oven for a further 5 minutes, to dry out the middles. Once baked, they should be crisp and golden brown with a crackled appearance on top. Cool while you make the other elements.
  6. Toss the walnuts in the honey and salt and spread out on a baking tray. Cook for around 10 minutes or until caramelised then set aside to cool. Once cooled, roughly chop.
  7. For the filling, just whisk together the mascarpone, cream, honey and orange zest until light and smooth. Pile into a piping bag. Finally, for the sauce heat the honey and orange juice in a saucepan and simmer for a couple of minutes, add in the butter and stir until it’s melted, then add the cream and salt. Keep gently simmering, stirring occasionally, until slightly thicker (a few minutes should be fine), then set aside.
  8. To assemble the choux buns, slice each one in half and pipe some mascarpone cream into the base. Top with a sprinkling of walnuts and a little sauce, then place the lid on. Serve with some extra sauce.

Enjoy!

Dark Chocolate, Olive Oil and Espresso Torte

Cakes, Uncategorized

No intricate decorations, fillings or tiers here, just one humble layer of ludicrously fudgy, crinkly chocolate joy (which is, entirely by chance, dairy and gluten free). For a real depth of flavour and the perfect balance of bitter and sweet, take note of my chocolate recommendations and use a good quality olive oil (this recipe idea actually stemmed from a yearning to bake with a deliciously floral, wincingly expensive extra virgin oil I picked up in Greece last month*).

* Disclaimer: don’t judge, I was in that holiday headspace where you flash your card with the sort of cavalier attitude usually reserved for Monopoly money… sufficed to say, I could do with passing GO right now

Ingredients

  • 200g 50% dark chocolate
  • 200g 80% dark chocolate
  • 200ml good quality olive oil
  • 275g light brown soft sugar
  • 75ml strong espresso
  • 5 eggs
  • Generous pinch sea salt

Method

  1. Preheat the oven to 170c. Grease and line a 9 or 10 inch cake tin.
  2. Roughly chop all the chocolate and place it in a heatproof bowl along with the olive oil. Put the sugar and coffee in a saucepan and gently heat until the sugar has completely dissolved (avoid bringing it to the boil at this stage).
  3. Once the sugar has dissolved increase the heat and bring to the boil to form a syrup, then pour over the chocolate. Leave for a few minutes while the chocolate melts, then stir everything (chocolate, olive oil, sugar, espresso) together to form a smooth, glossy liquid. Set aside to cool to room temperature, then stir in the egg yolks.
  4. Place the egg whites in a large bowl with the salt (or bowl of a stand mixer) and whisk to stiff peaks. Carefully fold the whites into the chocolate mixture in two batches using a large metal spoon, then scrape the mixture into the prepared cake tin (make sure you don’t scrape from a height or you’ll knock out some of that air you’ve just put into the whites!).
  5. Bake for 50-60 minutes, then leave to cool completely in the tin. When cooling, the top of the cake will dip and crack- don’t worry, it’s a smooth, flourless torte, not a sponge cake! Once cool, slice up and finish with a dusting of cocoa powder. Serve with creme fraiche, if you like.


Blackberry, Hazelnut and Lavender Honey Celebration Cake

Cakes, Uncategorized

This cake, decorated with whimsical blooms from the Eloise bouquet by Bloom and Wild, is made up of four layers of moist hazelnut sponge soaked in lavender honey syrup, filled with a fresh blackberry compote and covered in delicately flavoured lavender mascarpone cream. The bouquet is inspired by a summer meadow, so it seemed only right to pick out some of my favourite ingredients the British countryside has to offer for this recipe; together the balance of nutty, floral and fruity flavours are delicious. Try this one out in August/September for a really special seasonal centre piece.

Ingredients

For the lavender honey syrup (this is used to soak the sponges and flavour the mascarpone icing)

  • 100ml runny honey
  • 75ml water
  • 4 sprigs fresh lavender or 1tbsp dried lavender

For the blackberry compote

  • 400g fresh blackberries
  • 3tbsp runny honey
  • Zest and juice 1 lemon

For the hazelnut sponges

  • 350g soft unsalted butter
  • 325g light brown soft sugar
  • 6 eggs
  • 200g ground hazelnuts (to make these just blitz 200g blanched hazelnuts in a food processor until fine)
  • 150g plain flour
  • 2tsp baking powder
  • Pinch salt

For the lavender mascarpone cream

  • 3-4tbsp of the lavender honey
  • 350ml double cream
  • 300ml mascarpone

To garnish (optional)

  • The Eloise bouquet by Bloom and Wild
  • Fresh blackberries
  • Crushed and toasted hazelnuts

Method

  1. Start by making the lavender honey (to give it time to develop in flavour). To do this just place the honey, water and lavender (whichever sort you’re using) in a saucepan and gently heat until the honey has dissolved into the water. Once this has happened, simmer for 2 minutes then set aside and leave to infuse until required
  2. Now make the blackberry compote by gently heating the blackberries, honey, lemon zest and juice in a saucepan. Stir occasionally, until the blackberries release their juices and reduce down to form a compote consistency. Set aside to cool.
  3. Preheat the oven to 180c. Grease and line two 8 inch cake tins.
  4. Place the softened butter and sugar in a large bowl (or bowl of a stand mixer) and beat until very light and fluffy (about 5 minutes). Add the eggs, one at a time, beating very well between each addition (add a tablespoon of the flour each time to prevent curdling). Once all the eggs are well incorporated, fold in the ground hazelnuts, remaining flour, baking powder and salt with a large metal spoon.
  5. Divide the mix between the prepared tins and level the tops. Bake for 35-40 minutes (or until well risen and a skewer comes out clean when inserted). Once baked, prick the surfaces of the cakes with a fork and spoon over 3-4tbsp of the lavender honey syrup, then leave to cool completely in the tins.
  6. While the cakes are cooling, make the lavender mascarpone cream. Put all the ingredients in a large bowl (or bowl of a stand mixer) and whisk until thick and spreadable. Scrape half the mixture into a piping bag. Now you’re ready to assemble the cake (providing all your elements are completely cool!).
  7. To put the cake together, slice the sponges in half horizontally (so you have four even layers). Place the first layer down on your chosen plate and pipe a thick ring of mascarpone cream around the edge, then fill the middle with one third of the blackberry compote and repeat this until you’ve stacked up all four layers. With the remaining mascarpone cream, cover the cake and smooth with a palette knife. Decorate with blooms from the Eloise bouquet or freestyle with hazelnuts, fresh blackberries and lavender.

Enjoy!

Cherry, Chocolate and Tahini Parfait with Sesame Crumble

Chocolate, Cooking, Uncategorized

We’ve been enjoying a very unusual bout of beautiful hot weather here in the UK, so today’s recipe is an iced one. I served this up for my boyfriends birthday (after he broke the news to me that he didn’t want a cake- yeah, sacrilege I know) and although it requires a little more effort to make than a simple sponge, the creamy, indulgent and slightly bittersweet (thanks to the tahini and very dark chocolate) result is well worth it.

Ingredients

For the chocolate ripple

  • 150g bitter dark chocolate
  • 150ml double cream
  • pinch sea salt

For the cherry compote

  • 200g fresh cherries (de-stoned)
  • 3tbsp honey or caster sugar
  • Zest and juice of 1 orange

For the parfait base

  • 4 eggs
  • 75g caster sugar
  • 125ml whole milk
  • 250ml double cream
  • 150g tahini

For the tahini crumble

  • 25g tahini
  • 25g demerara sugar
  • 25g butter, cubed
  • 100g plain flour
  • 1tbsp black sesame seeds

Method

  1. Start by making the chocolate ganache for the ripple. To do this simply place the chocolate, salt and cream in a heatproof bowl and set over a pan of simmering water (don’t allow the water to touch the bottom of the bowl). Stir occasionally until it melts together and forms a smooth ganache. Set aside to cool.
  2. Now prepare the cherry compote. Put the cherries, honey (or sugar), orange zest and juice in a saucepan and gently heat, stirring occasionally, until it reaches a sticky compote consistency (5-10 minutes). Transfer to a bowl and leave to cool.
  3. Now it’s time to make the parfait base. Line a loaf tin with 2 layers of cling film, leaving an overhang on all sides.
  4. Separate the eggs. Put the yolks in a large bowl along with the sugar and whisk until pale, meanwhile, heat the milk until just boiling in a saucepan. Remove the milk from the heat and pour into the egg yolks, then stir together until smooth. Return the mix to a clean pan and gently heat, stirring constantly. After a few minutes, the mix will start to thicken- once it coats the back of the spoon set aside and cool to room temperature.
  5. Once the ganache, compote and custard have cooled to room temperature, whisk the double cream to soft peaks. In a separate bowl whisk the egg whites to medium peaks. Stir the tahini into the egg yolk mixture. Fold the double cream into the egg yolk/ tahini with a large metal spoon, then do the same with the egg whites, retaining as much air as possible. Ripple through 2/3 of the chocolate ganache and 2/3 of the cherry compote.
  6. Spoon the remaining chocolate ganache and cherry compote into the bottom of the prepared tin, then spoon in the parfait mix. Cover with cling film and freeze for at least 4 hours.
  7. While the parfait is freezing, make the sesame crumble. Preheat the oven to 180c. Rub together the butter and flour until they resemble breadcrumbs. Stir through the sugar and tahini, then tip onto a lined baking tray- bake for 10 minutes then check, shake and return to the oven to 10 more minutes, or until the crumble is golden brown. Stir through the sesame seeds and set aside to cool.
  8. Take the parfait out of the oven 10 minutes before you’d like to serve it to allow it to soften slightly. Sprinkle on the sesame crumble and finish with some fresh cherries.

Enjoy!

Gooseberry and Lemon Cake with Elderflower Mascarpone

Cakes, Uncategorized

Light, buttery sponge flavoured with lemon, tart pockets of soft, juicy gooseberries, and a generous swirl of elderflower mascarpone make up this simple summer cake and ode to the British countryside.

Ingredients

  • 225g butter, softened
  • 225g caster sugar
  • zest 2 lemons
  • 1tsp vanilla extract
  • 4 eggs
  • 225g self raising flour
  • 75g ground almonds
  • 1tsp baking powder
  • 250g gooseberries (blueberries, blackberries or raspberries would also work well)
  • 200g mascarpone
  • 3tbsp elderflower cordial
  • 1tbsp honey

Method

  1. Preheat the oven to 180c. Grease and line a 9 inch cake tin.
  2. Place the butter, sugar, lemon zest and vanilla in a large bowl (or bowl of a stand mixer with paddle attachment) and beat until very light, pale and fluffy. Add the eggs, one at a time, beating well between each addition. Add a little flour if you’re worried about curdling.
  3. Once all the eggs are well incorporated, fold in the flour, ground almonds and baking powder. Trim the tops and stalks of the gooseberries then fold them through the cake batter.
  4. Scrape the cake batter into the prepared tin and level off the top. Bake for 35-40 minutes or until the cake is springy and golden (or until a skewer comes out clean when inserted). Once baked, leave the cake to cool completely in the tin.
  5. Meanwhile, whisk together the mascarpone, elderflower and honey. When the cake is cool, swirl the mascarpone over the cake and decorate with fresh flowers.

Enjoy!

Cherry, Chocolate and Orange Blossom Tart with Cardamom Cream

Pastry, Uncategorized

Make the most of the fleeting cherry season with this deliciously indulgent ode to my favourite things (chocolate and cherries). Great for a summer dinner party dessert or post-BBQ chocolate fix, this tart layers up cherry compote, orange blossom infused chocolate filling and cardamom cream, all encased in crisp, zesty pastry; you’d be hard pushed to find someone who’d turn down a slice.

Ingredients

For the pastry

  • 225g plain flour
  • 150g unsalted butter, chilled and cubed
  • pinch salt
  • 50g caster sugar
  • zest 1 orange
  • 1 egg plus 1 egg yolk

For the cherry layer

  • 400g cherries (de-stoned)
  • 2tbsp caster sugar
  • zest and juice 1 orange
  • 2tbsp cherry molasses (optional)

For the chocolate filling

  • 125ml double cream
  • 100g butter
  • zest 1 orange
  • 2tsp orange blossom extract
  • 300g dark chocolate
  • 1 egg plus 3 egg yolks
  • 100g caster sugar

For the cardamom cream (optional)

  • 200ml double cream
  • 1tsp ground cardamom
  • 2tbsp icing sugar

To decorate (optional)

  • whole cherries
  • edible flowers, petals only

Method

  1. Grease a 20cm deep tart tin lightly with butter.
  2. Before you make the pastry, flavour the cream for the chocolate filling. To do this just pop the double cream, butter, orange zest and orange blossom extract in a saucepan and heat until the butter has melted and starts to gently simmer. Set aside until required.
  3. Place the plain flour, butter and salt in a food processor and whizz on a pulse setting until they resemble breadcrumbs. Tip this mix into a large bowl and stir through the caster sugar and orange zest. Briefly whisk together the egg and egg yolk and add to the bowl then stir with a cutlery knife to form pastry. Once it all comes together in big lumps, shape it into one large disc (handling as little as possible) and wrap in cling film. Chill for about an hour or until the pastry is a little firmer. Preheat the oven to 180c.
  4. While the pastry is chilling, make the cherry filling. To do this just place the de-stoned cherries, caster sugar, orange zest and juice, and the cherry molasses (if using- this is optional but it really helps intensify the cherry flavour) in a saucepan. Heat gently until the cherries release their juices, then up the heat and cook, stirring occasionally, until the cherries are sticky and resemble a compote.
  5. Once the pastry has firmed up, roll out to about 3mm thick on a well floured surface. Line the tart tin with the pastry, ensuring that you push it into the corners and flutes. Trim any overhanging pastry and chill for 20 minutes.
  6. When your pastry is sufficiently chilled, line with baking paper, fill with baking beans and blind bake for 10-15 minutes until the walls of the tart case can support themselves. At this stage remove the paper and beans and return to the oven for a further 5-10 minutes or until the pastry is completely cooked through with no grey, raw areas of pastry remaining. Set aside.
  7. Now make the chocolate filling. Gently melt the chocolate in a heatproof bowl set over a pan of simmering water. Meanwhile, remove the orange zest from the cream mixture and heat up. Once the chocolate has melted pour the cream into the bowl and briefly stir to combine, then set aside to cool a little. Put the egg, yolks and caster sugar in a large bowl (or bowl of a stand mixer) and whisk until very thick, pale and voluminous (5-6 minutes). Add a large spoonful of this to the chocolate and mix in, then add the rest and carefully fold.
  8. To assemble the tart, tip the cherry compote into the pastry case and spread out in an even layer, then scrape the chocolate filling on top. Bake for 15 minutes then leave to cool completely in the tin (it should have a little wobble).
  9. While the tart is cooling, make the cardamom cream. To do this simply whisk together the icing sugar, cream and ground cardamom until soft peaks form.
  10. You can enjoy the tart at this stage- it will have a very fudgy, mousse like texture. If you chill the tart it will have a slightly different, but still delicious, texture (the cold will set it a little firmer, like a conventional chocolate tart). However you serve your tart, top it with a spoonful of cardamom cream and fresh cherries.